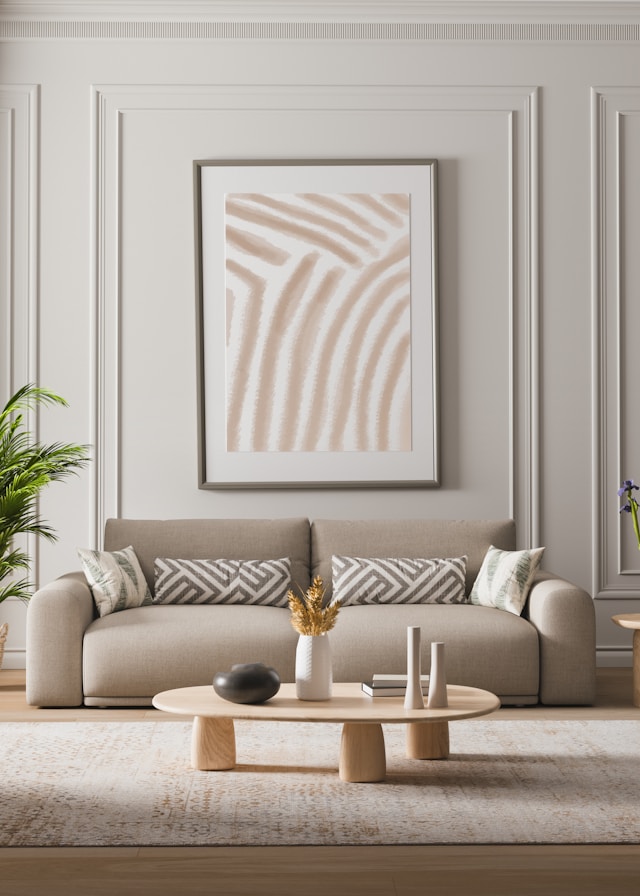
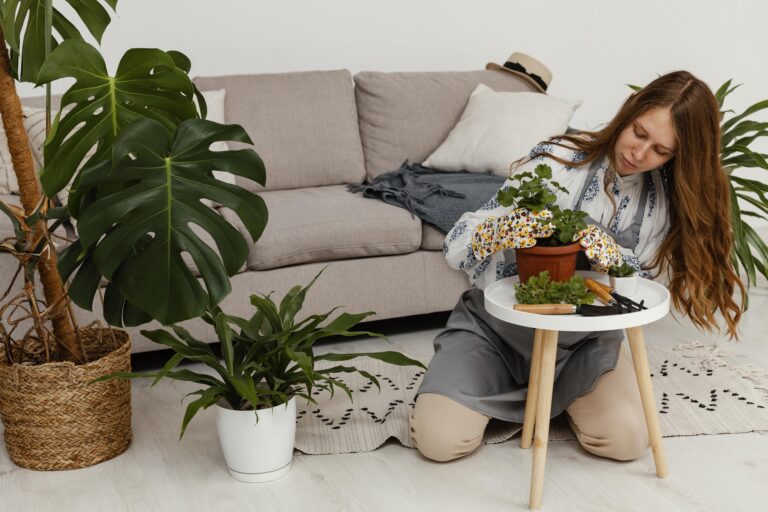
Give Your Home a Makeover with These Easy DIY Wall Art Ideas
Are you someone who wants to give Your Home a Makeover with These Easy DIY Wall Art Ideas?
Are you looking for an easy and affordable way to give your home a fresh new look? Trying your hand at some DIY wall art can completely transform any room.
You can create gorgeous statement pieces to decorate your walls with just a bit of creativity, simple materials from around the house or your local craft store, and some basic DIY skills.
The best part is that DIY wall art is highly customisable to your personal style. You can choose the colours, materials, textures, shapes, and designs. And it’s a fun way to add more of your personality into your living space.
As Australians, we love embracing our creative side and finding inexpensive ways to spruce up our homes. DIY projects allow us to put our own spin on decor. Plus, wall art is an impactful design element that often gets easily noticeable when we are doing a room makeover.
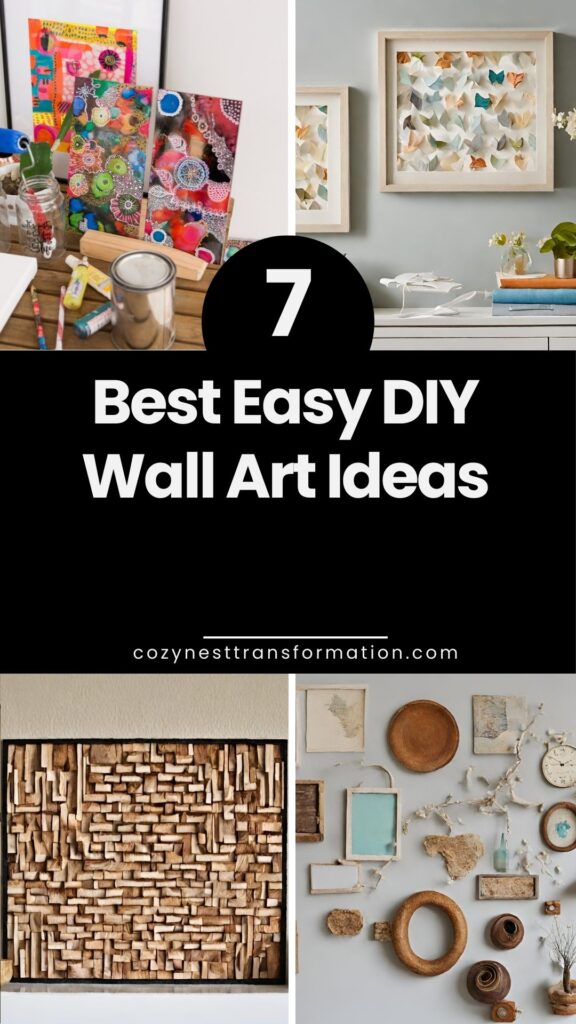
7 Easy DIY Wall Art Ideas
Easy DIY Wall Art Ideas for Your Living Room
This post will explore some inspiring, beginner-friendly DIY wall art ideas to liven up your space. Let’s get started!
1. Gather Materials from Around the House
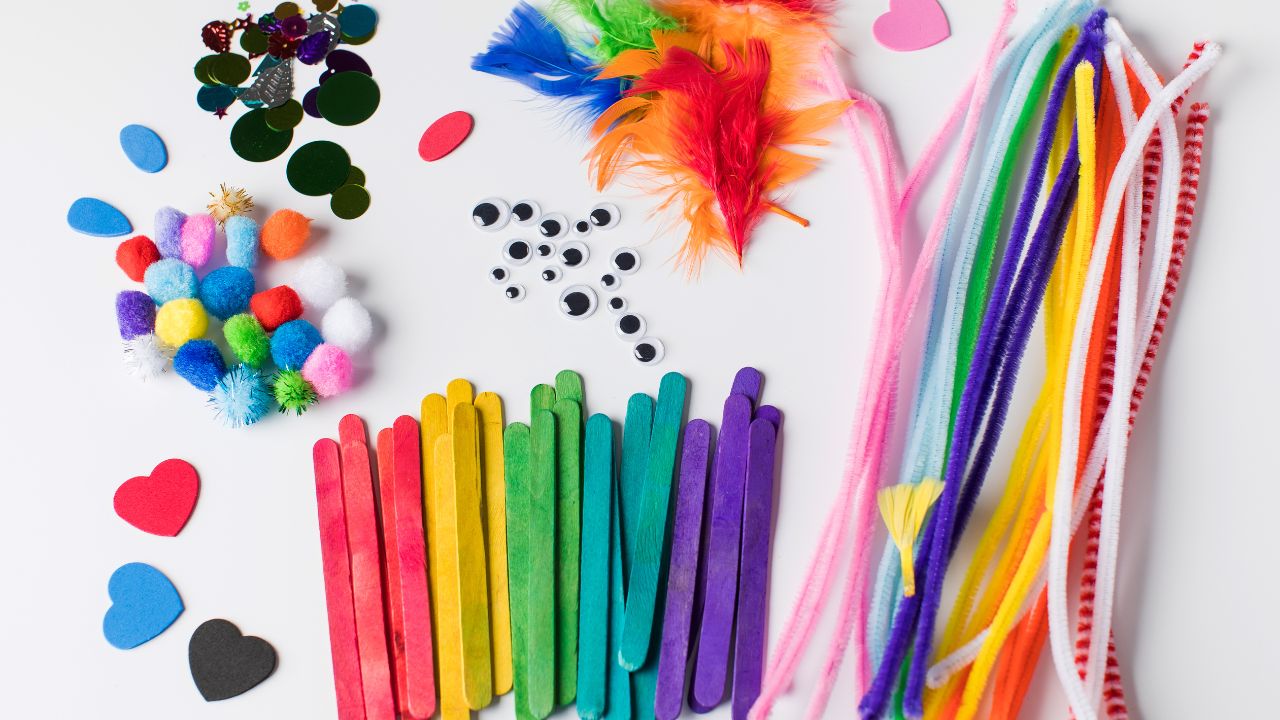
Many DIY wall art projects call for simple supplies you may already have at home. Raid your craft stash, kitchen cabinets, or garage to find:
- Paint (acrylic, spray paint, liquid chalk paint)
- Paintbrushes
- Canvas (stretched canvas or canvas boards)
- Wood cutoffs (plywood, pallet wood, timber scraps)
- Paper (patterned scrapbook paper, pages from old books, maps, music sheets)
- Photos, postcards, prints, pages from magazines
- Fabric, yarn, string, ribbon
- Dried flowers, leaves, plants, and pinecones from your garden
- Frames (old or new)
- Wood letters, numbers, shapes
- Twigs, driftwood, pebbles, shells
- Hot glue gun, wood glue, tape, nails, screws, hanging hardware
Don’t be afraid to rummage around and get creative with materials you already have available. You can find lots of hidden craft supplies perfect for making art.
2. Simple Painted Canvas Art
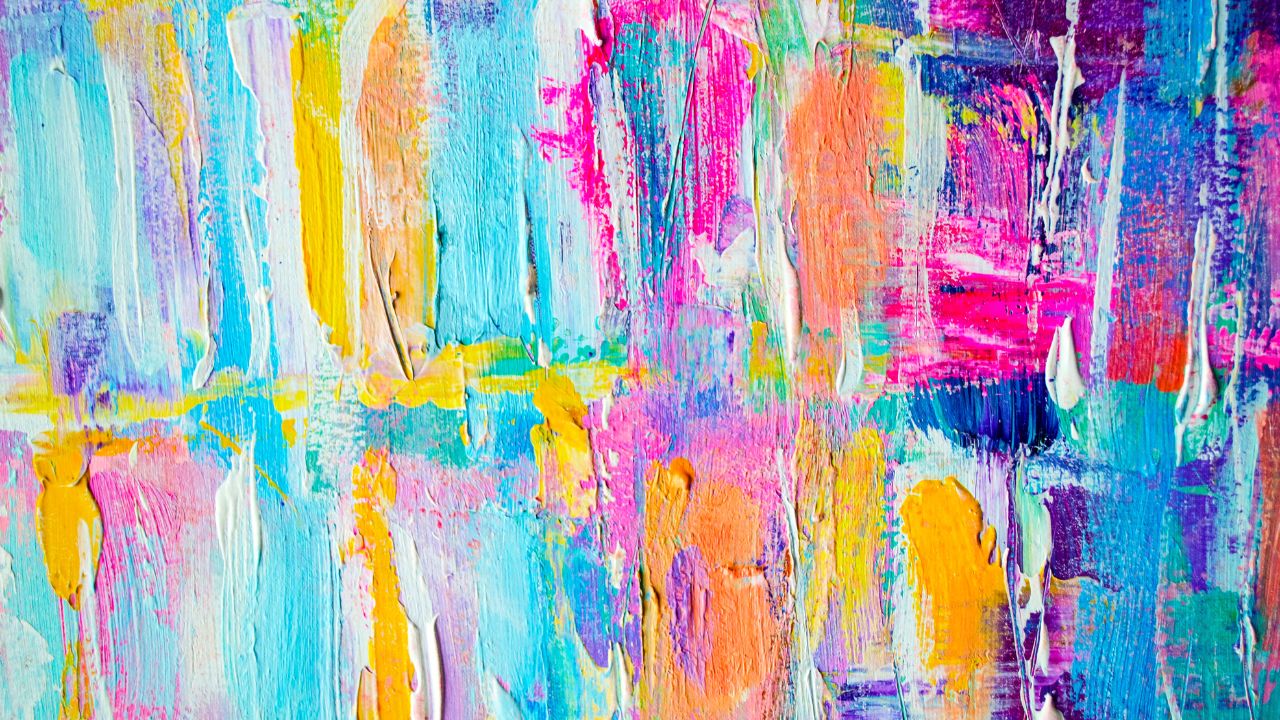
Among the simplest options for DIY wall art is to paint abstract designs on blank canvases.
This lets you play with colours, textures, and shapes to create unique pieces tailored precisely to your taste.
Try doing a simple abstract geometric design in your favourite colours. Use painter’s tape to block off triangles, diamonds, lines, or circles on the canvas.
Then, fill in each section with acrylic paint in contrasting hues. Remove the tape to reveal a bold geometric print.
You may also use stencils to make patterns like chevrons, polka dots, arrows, leaves, flowers, animals, or inspirational words. Use sponges, dabbers, or brush handles to dab paint over stencils.
Another idea is to use a blender brush technique. Start by painting the entire canvas in one colour.
While the paint is still wet, use a dry blender brush to pick up some paint, revealing the white canvas underneath. This creates a muted, painted effect.
Tips for Painted Canvas Easy DIY Wall Art:
- Use high-quality canvas so the paint doesn’t bleed through the fibres
- Stretch the canvas tight over the frame to prevent buckling
- Start with a base layer of gesso or primer for better paint adhesion
- Use acrylic paints that dry permanently and won’t smudge over time
- Seal finished canvas paintings with a clear fixative spray for protection
3. Trendy Wooden Wall Art
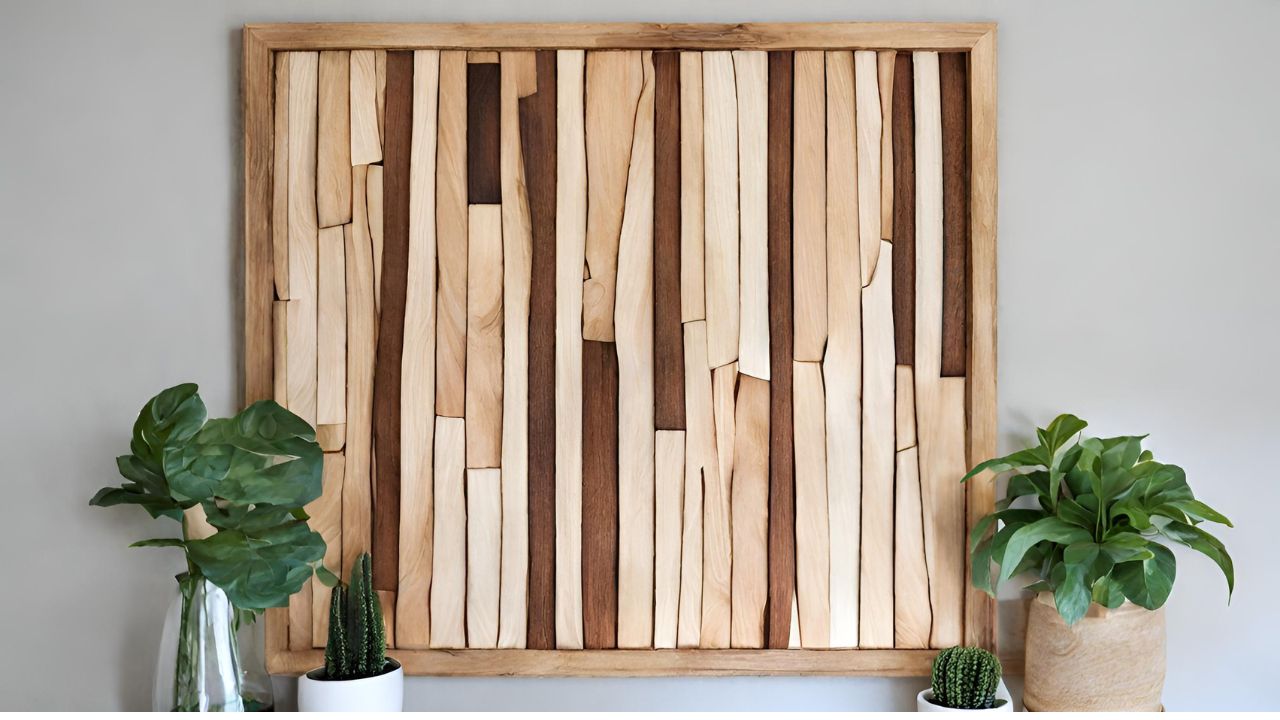
Natural wood wall hangings instantly add warmth and texture to any room. Wood has a significant moment in home decor and makes a rustic foundation for many DIY projects.
Some easy wooden DIY wall art ideas include:
- Arranging overlapping wood discs, slices, or medallions in organic cluster designs
- Using mathematical principles to form geometric wood wall sculptures
- Attaching wooden beads, spindles, or clothespins to a wood board in pleasing patterns
- Drawing inspiration from boho chic style with dreamcatchers, macrame hangings, or abstract carved wood pieces
Hand-painted signs made from wood are also very popular for kitchens, bathrooms, bedrooms, and living spaces.
You can use stencils and paint pens to label wooden planks with uplifting quotes, your family name, or decor themes. Display the colourful planks together in an artful formation on your wall.
Try nailing different-sized wood cutoffs together to form crosses and starburst shapes for a rustic farmhouse feel. You can leave the wood naked or stain, whitewash, or paint it in muted tones.
Tips for Wooden Wall Art:
- Use pre-cut wood slices and medallions from the craft store to save time
- Sand any rough edges smooth for safety
- Finish with a sealant like polyurethane for protection from moisture and warping
- Look for pre-drilled wood planks with backings that easily mount to the wall
- Distress painted wood signs with sandpaper to create a timeworn, vintage look
4. Framed Paper or Fabric DIY wall Art
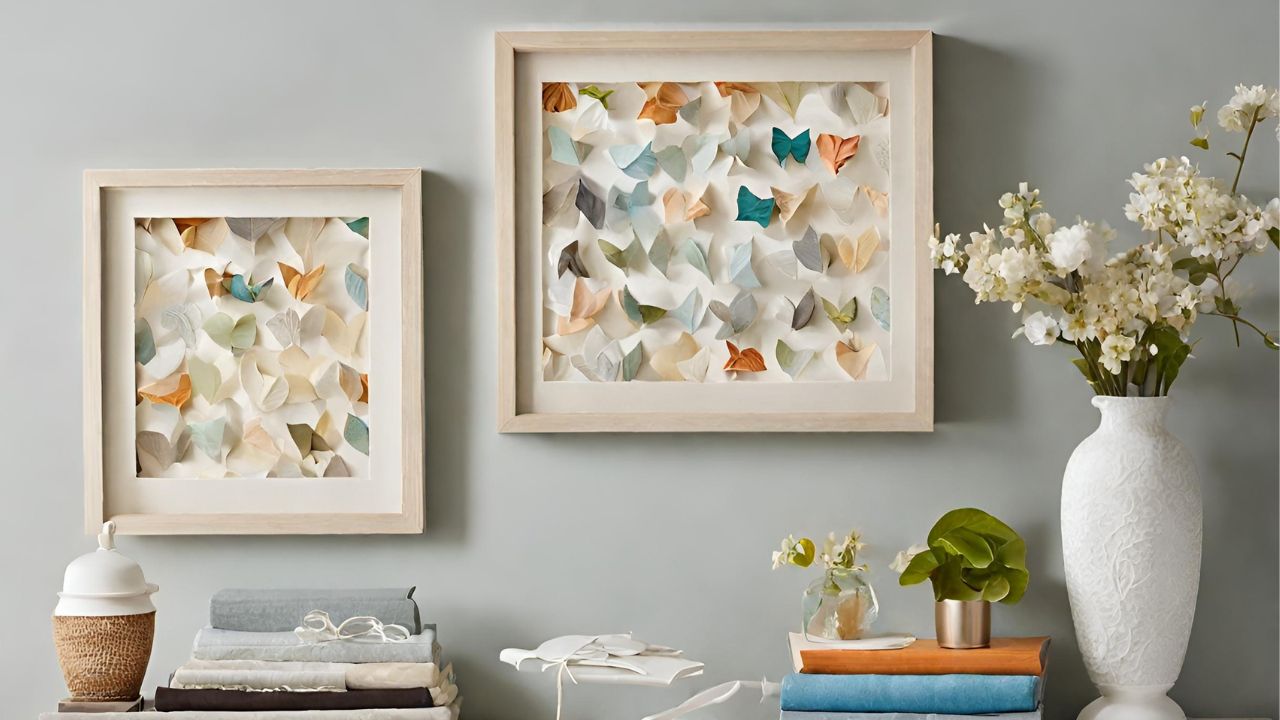
Framing attractive paper or fabric in a shadow box frame transforms regular materials into stunning art pieces.
This is an easy way to showcase favourite paper items without needing glass over the surface.
Try framing pages from old books, sheet music, maps, posters, or prints. Make sure the paper complements your decor style. Use pages from your favourite novels or sheet music from songs you love for a personalised touch.
You can also frame beautiful fabric like lace, embroidered linens, or treasured textiles from old clothing.
Add dimensional details like buttons, ribbons, or pressed flowers between the fabric layer and mat. Arrange fabric trims, doilies, or handkerchiefs artfully before framing.
Smaller shadow boxes work well for displaying fabric swatches, old photos, postcards from trips, concert tickets, or children’s artwork. Make a themed collage box featuring items meaningful to you or your family.
Tips for Framed Paper/Fabric Art:
- Choose deep box frames at least 2-3 inches deep for dimensional items
- Select acid-free, archival paper and mat boards so items don’t discolour or deteriorate
- Use craft glue to adhere paper items securely to the backing before framing
- Prevent fabric from sagging over time by pulling it taut and using pins on the backing board
- Adjust artwork until it’s perfectly positioned before securing the box frame together
5. Incorporate Meaningful Found Objects
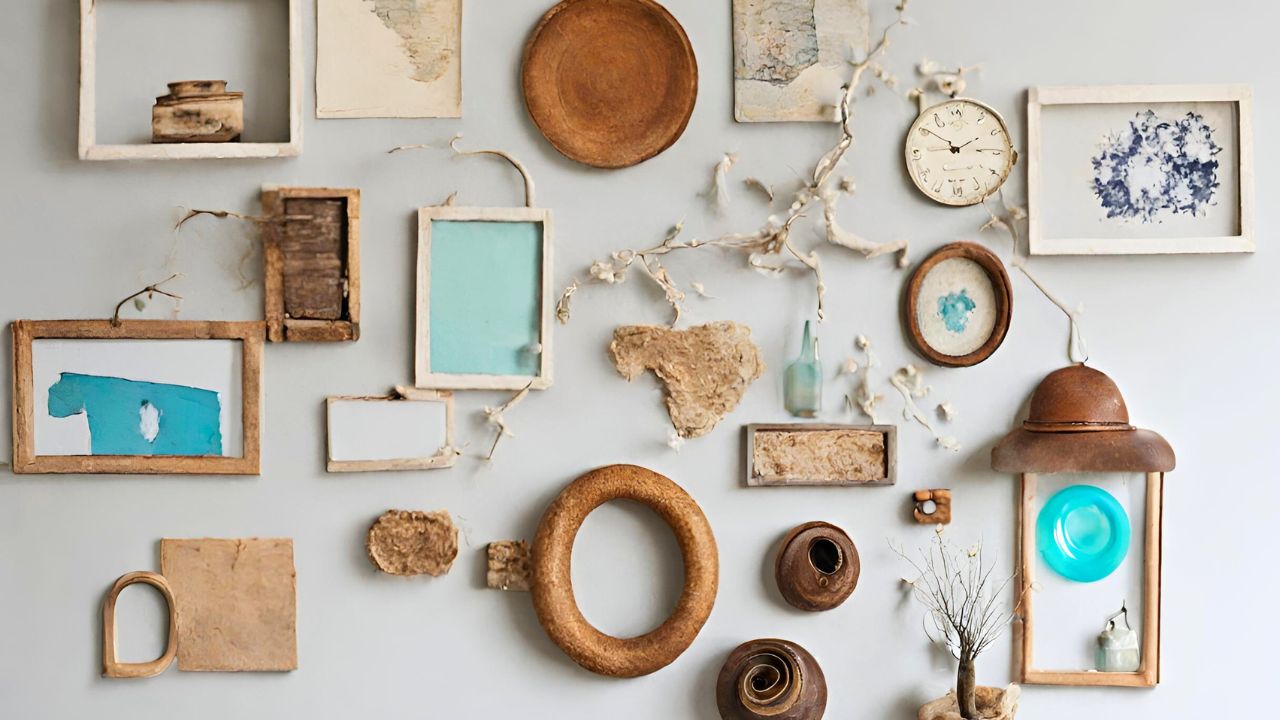
Incorporate special collected items or found objects from nature into your DIY art pieces. This adds sentimental value and a touch of whimsy. Display meaningful memorabilia without cluttering your home.
Try framing or shadowboxing small found objects like seashells, feathers, leaves, rocks, or sand from trips.
Dry and preserve flowers or foliage from your garden to include in resin art, paintings, or collections on canvas.
Arrange any personally meaningful trinkets into an interesting mixed media collage. Some ideas are old keys, costume jewellery, ticket stubs, wine corks, or vintage buttons. Create stories and display fond memories from the objects’ origins.
Use objects like utensils, tools, hardware, or kitchen items as materials for sculptures, designs, or patterns.
Old silverware, cookware, and machine parts glued to wood can form abstract robot or animal-inspired art. Collected objects grouped and mounted together make great conversation-starting centrepieces.
Tips for Using Found Objects:
- Curate collections into categories like colours, textures, or object types for unity
- Clean any dirty or rusted items before adding them into the art
- Check for insects, mould, or dirt on organic materials like feathers or plants
- Use strong adhesives like epoxy or wood glue to attach found objects securely
- Add meaning with date stamps, typography, or specific placement in the artwork
6. Display Kids’ Artwork
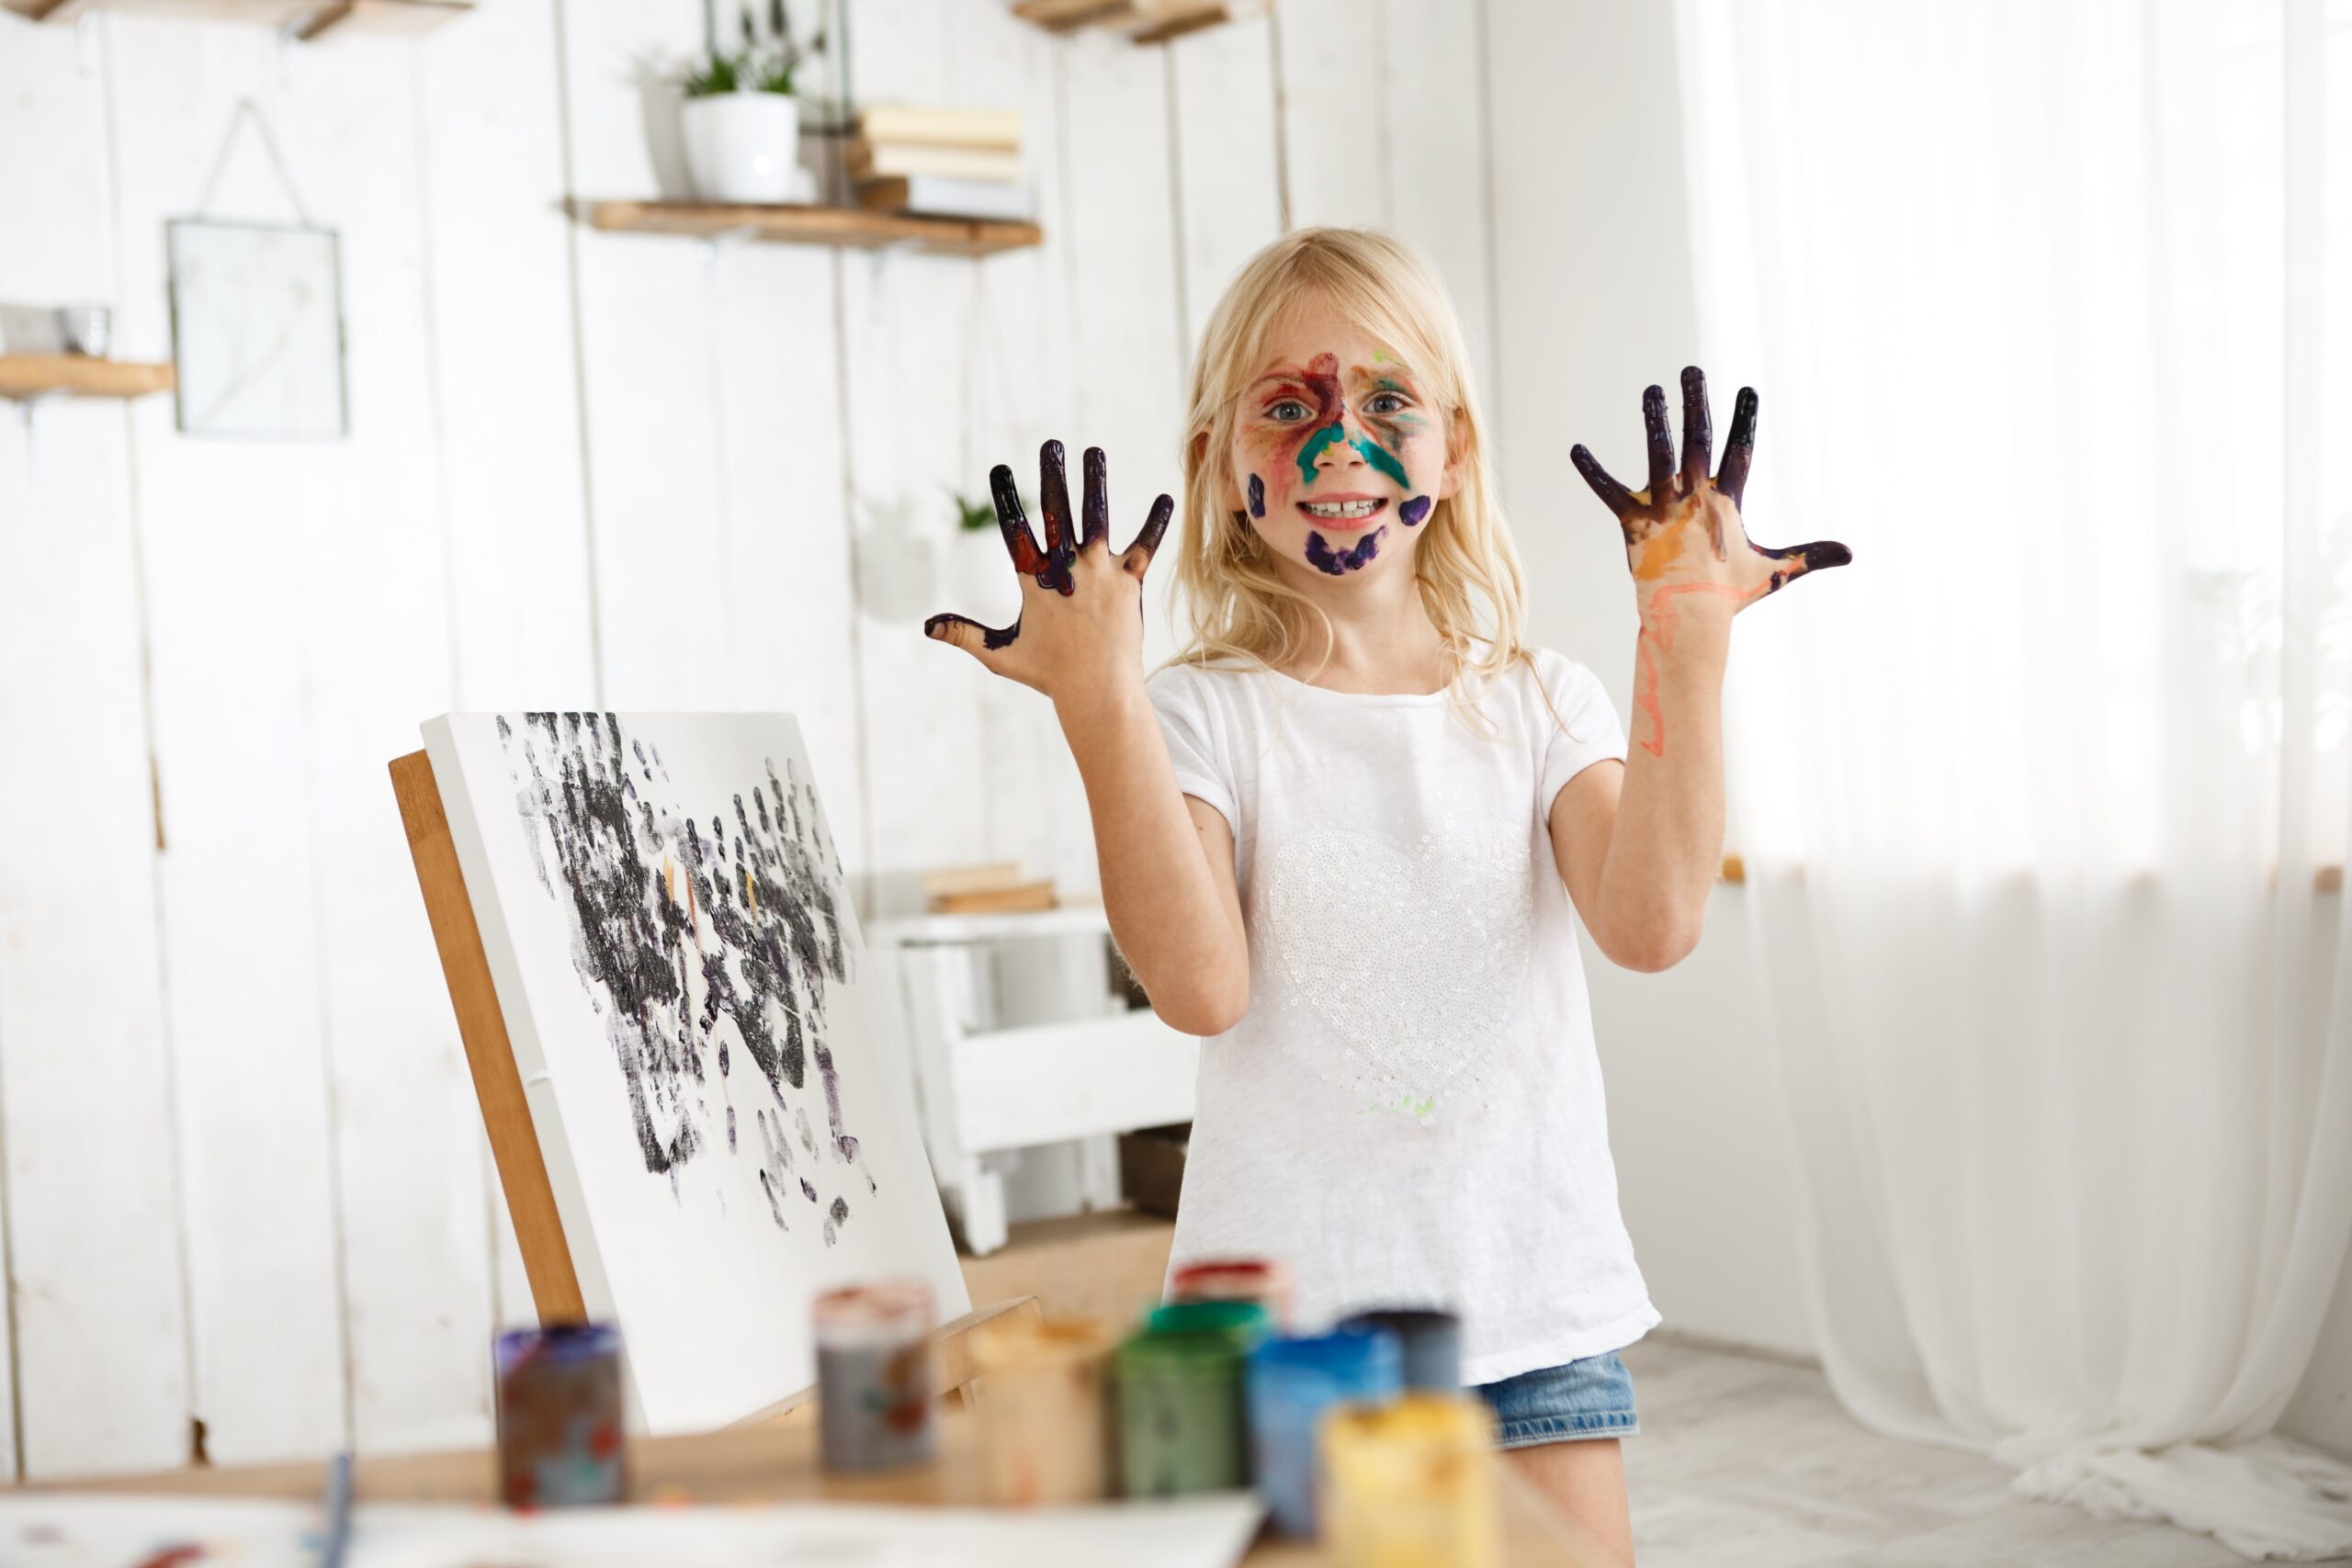
Fill your home with art you already have – your kids’ drawings and crafts! Children’s artwork makes such meaningful, personal wall decor. Plus, displaying their creations helps nurture kids’ artistic development and self-esteem.
Make your child feel proud by reserving a special spot to show off new masterpieces as they’re created.
Change it up frequently. Add an ever-growing gallery wall showcasing your children’s art through different developmental stages.
Before framing, help artwork pop by mounting it onto colourful construction paper or card stack.
Complement the art’s colour palette with the mat and frame choices. Black gallery frames keep the focus on the art itself. Whimsical circus tent frames add playfulness to children’s drawings.
Give canvases painted by kids prominent wall space. Help toddlers create abstract art by letting them paint on the canvas with their hands and feet! Older kids will enjoy using brushes to paint landscapes or familiar subjects.
Tips for Displaying Kids’ Artwork:
- Take photos of extra special art to preserve memories even after the originals become worn
- Mark children’s art on the back with their name, age, and year created
- Rotate out art seasonally or as new pieces are added
- Group similar themed art together into fun collections or gallery wall collages
- Frame with matting to prevent smudging of the artwork inside
7. Get Inspired and Get Creative!
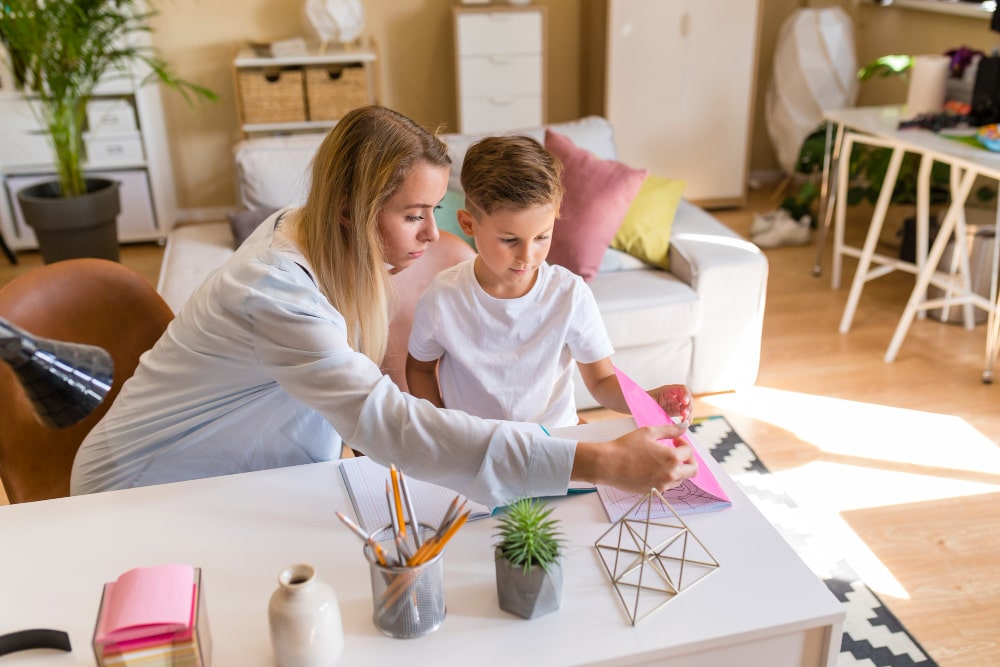
The possibilities are endless when dreaming up easy DIY wall art to liven up your home’s blank walls. Let your personality shine through handmade art tailored to your taste and decor style.
Use these beginner-friendly project ideas to spark your creativity:
- Painted wood signs with inspirational quotes, funny sayings, or family names
- Framed collections of colourful yarn balls, buttons, or fabric swatches
- Photo collage art of fun memories, like road trips and holidays
- Silhouette portraits of family members cut from black paper
- Giant wall murals of scenic landscapes painted with a faux finish technique
- Classy gallery wall with a coordinating mix of frames, prints, and white space
Plus, don’t limit yourself to just walls! Many of these DIY art ideas can also work beautifully displayed on shelves, desks, bed headboards, leaning against bookcases or consoles, or even mounted to the ceiling!
The whole family can get involved in creating art for your home. DIY wall art makes for fun weekend projects to do together on a rainy day. Plus, they make thoughtful homemade gifts for family and friends.
My Final Thoughts on Easy DIY Wall Art Ideas
So give your decor a simple, stylish upgrade with inspired easy DIY wall art made with love. With a little creativity and essential materials, you can transform any dull wall into your own lively art gallery. Enjoy the process of enhancing your home’s personality with handcrafted accents made especially for you and your family to cherish.
Do you like these easy DIY Wall Art Ideas? Let me know in the comment box if you have any other ideas!

