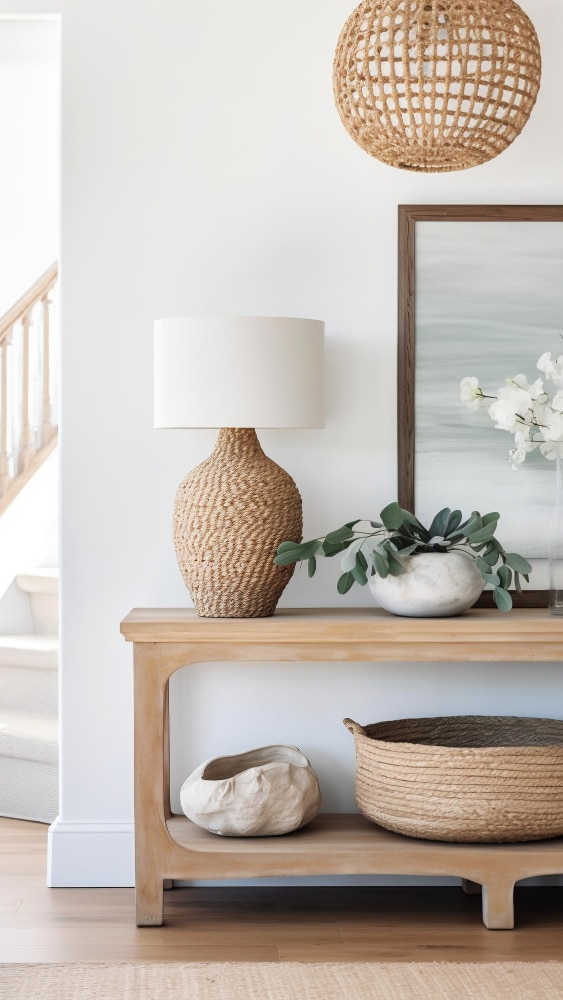
Best DIY Lighting Fixtures to Brighten Your Home on a Budget
Are you excited to know which are 10 Best DIY Lighting Fixtures to Brighten Your Home on a Budget?
Imagine walking into your home and being greeted by a warm, inviting glow that transforms your space from drab to fab.

Best DIY Lighting Fixtures to Brighten Your home
Now, what if I told you that you could achieve this ambience without spending a fortune (basically you don’t need to spend so much money)?
Welcome to the world of DIY lighting fixtures – where creativity meets functionality, and your wallet breathes a sigh of relief.
Whether you’re a seasoned craftsperson or you don’t need to think about much if you are a complete beginner and looking to dip your toes into the world of DIY, this guide will light up your path to a brighter, more beautiful home.
Table of Contents
10 Best DIY Lighting Fixtures to Brighten Your Home on a Budget
Let’s dive into the world of DIY home lighting and discover 10 best lighting fixtures on a budget.
1. The Magic of Mason Jars: A Timeless Classic
Let’s kick things off with a crowd and my favourite – the mason jar light fixture.
These multifunctional glass containers have been lighting up homes for years, because of versatility and for good reason.
They’re affordable, readily available in market or any home, and offer endless possibilities for customisation.
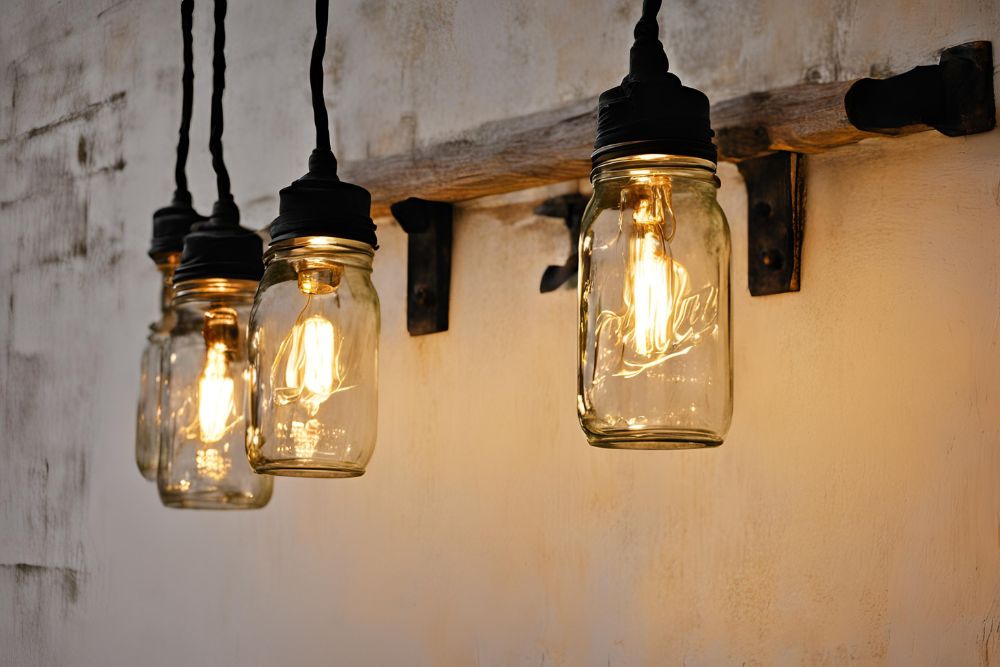
Here’s a simple project to get you started:
Materials needed:
- Mason jars (size and quantity depend on your preference)
- LED string lights or battery-operated fairy lights
- Wire for hanging
- Wooden plank (optional, for creating a chandelier effect)
Steps you can follow:
- Clean your mason jars thoroughly.
- If using a wooden plank, sand and stain it to your liking.
- Drill holes in the jar lids for the wire to pass through.
- Thread the wire through the holes and secure it.
- Fill the jars with string lights.
- Attach the jars to the wooden plank or directly to your ceiling.
Voila mate! It’s done and now you have a charming, rustic lighting fixture that adds character to any room.
2. Pendant Lights from Unexpected Objects
Here I would like to make a suggestion that you can consider non-traditional materials for pendant lights and think creatively and innovative above and beyond.
Think about treasure or thrift things we can find in the market because one person’s trash can be another’s treasure – or in this case, a stunning pendant light.
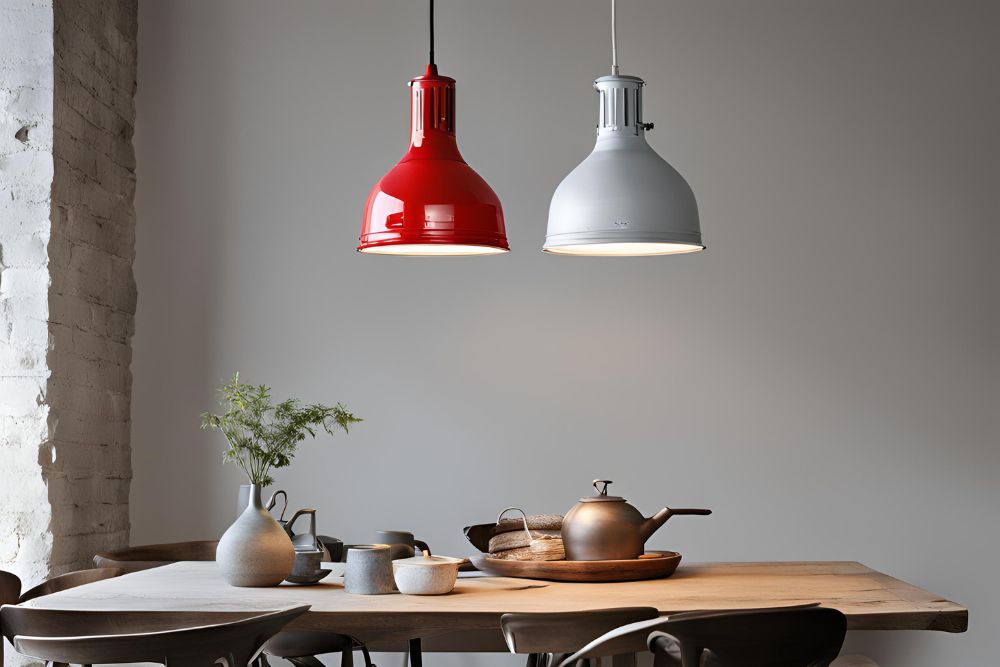
Consider these unique ideas:
- Repurpose old colanders or sieves
- Transform vintage birdcages into whimsical fixtures
- Give new life to old globes by turning them into worldly pendants
For a quick and easy pendant light, try this:
Materials:
- An old, clean paint can
- Spray paint in your chosen colour
- Pendant light kit
Steps:
- Remove the label and thoroughly clean the paint can.
- Spray paint the can in your desired colour.
- Once dry, drill a hole in the bottom for the light kit.
- Install the pendant light kit according to instructions.
- Hang and enjoy your unique, industrial-chic lighting fixture!
3. The Paper Lantern Revolution
For those who love a soft, diffused light, paper lanterns are your new best friend.
I must say not only are they incredibly affordable, but also we can make in a variety of shapes and sizes, that allow you for your endless creativity.
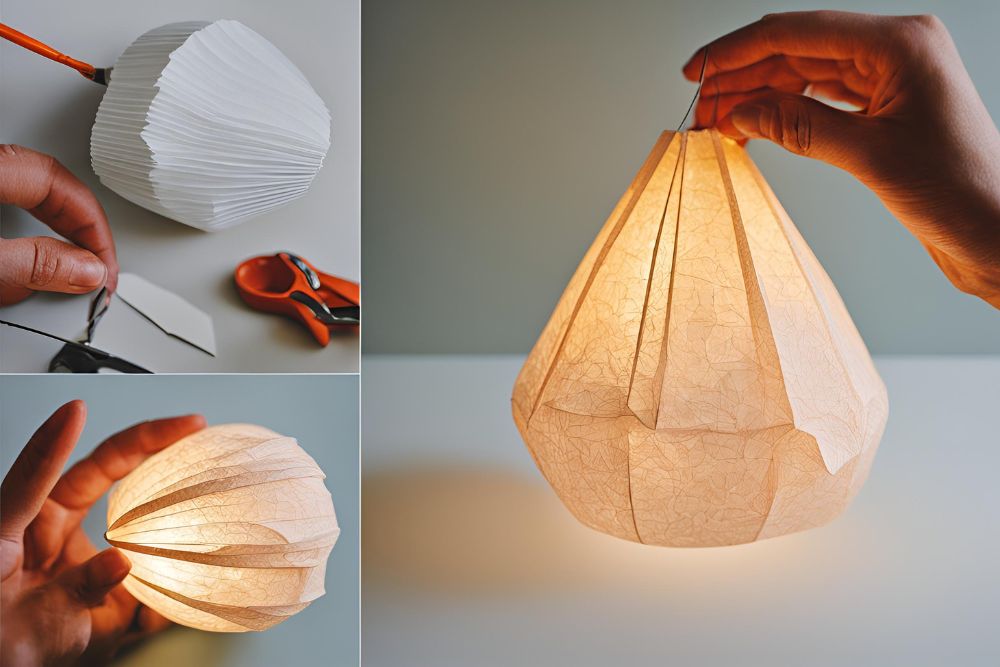
Try this cluster lantern chandelier:
Materials that you need:
- Assorted paper lanterns (mix sizes for visual interest)
- Battery-operated LED lights
- Fishing line or thin, clear wire
- Wooden embroidery hoop
Steps:
- Assemble the paper lanterns according to instructions.
- Place a battery-operated LED light in each lantern.
- Tie fishing line or wire to each lantern at varying lengths.
- Attach the lines to the wooden embroidery hoop.
- Hang the hoop from your ceiling for a dreamy, floating effect.
4. Bottle Brilliance DIY lighting ideas: Upcycle Wine Bottle Lights
You Got a collection of empty wine bottles? Don’t just throw them in trash – turn them to make stunning light fixtures! This DIY Wine Bottle Lights project is perfect for adding a touch of sophistication to your dining area or kitchen.

Try this cluster lantern chandelier:
Materials that you need:
- Empty wine bottles (clean and labels removed)
- Bottle cutter
- String lights or individual bulbs with cords
- Sandpaper
Steps:
- Use the bottle cutter to remove the bottom of each wine bottle.
- Sand the cut edges for safety.
- Thread the lights or individual bulbs through the neck of the bottle.
- Hang the bottles using sturdy cord or chain.
Pro tip: Group bottles of different colours and heights for a more dramatic effect.
5. Geometric Wonder: The DIY Dodecahedron Light
If you are like me and who love a modern, geometric aesthetic, this dodecahedron light fixture is sure to impress.
While looking at and or reading it, it may look complex, but it’s surprisingly achievable with some patience and attention to detail.
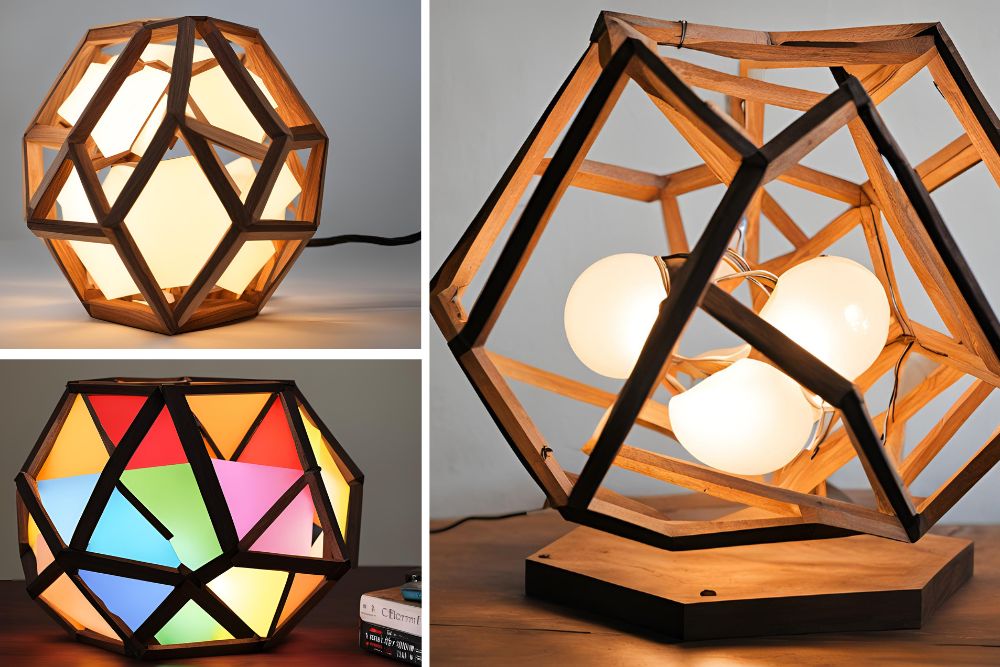
Materials:
- 12 pieces of thin wood or sturdy cardboard cut into pentagons
- White tissue paper
- LED string lights
- Hot glue gun
- Twine or thin rope for hanging
Steps:
- Cut your material into 12 equal pentagons.
- Cover one side of each pentagon with tissue paper.
- Assemble the pentagons into a dodecahedron shape using the hot glue gun.
- Leave one pentagon unattached to insert the lights.
- Place the string lights inside and attach the final piece.
- Hang using twine or rope.
The result? It is a stunning, modern fixture that looks like it came straight from a high-end design store.
6. Bringing Nature Indoors: The Driftwood Chandelier
For a touch of organic elegance, consider creating a driftwood chandelier. This project is perfect for those who love a beachy, bohemian vibe in their home.
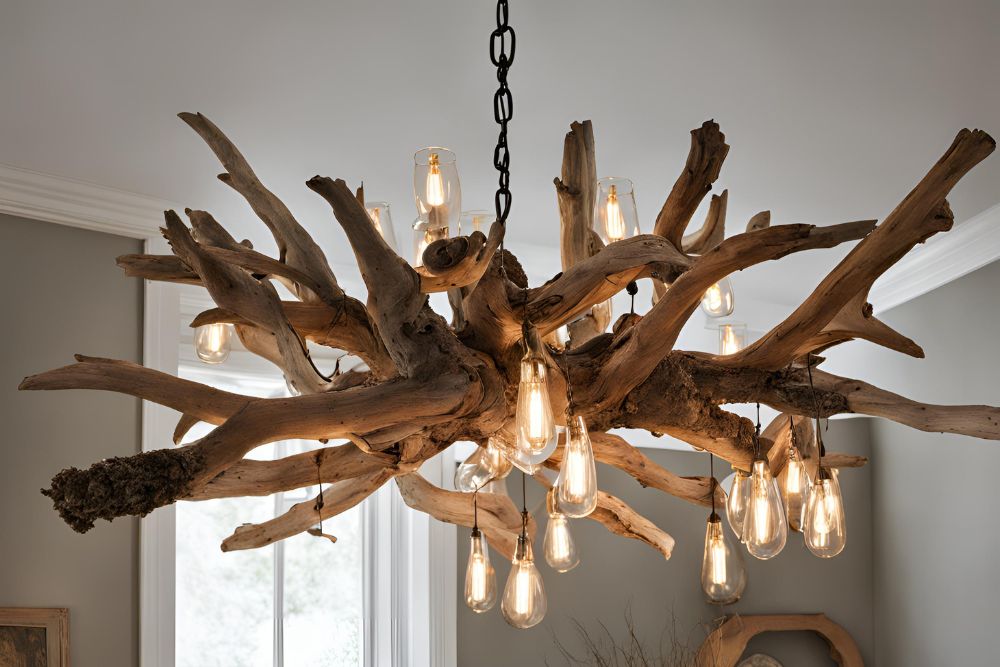
Materials:
- Assorted pieces of driftwood
- Strong fishing line or thin wire
- LED string lights or small bulbs
- Drill with small bit
Steps-by- step:
- Arrange your driftwood pieces in a pleasing configuration.
- Drill small holes in the driftwood for wiring.
- Thread the fishing line or wire through the holes to connect the pieces.
- Weave your lights through the driftwood structure.
- Hang from a sturdy hook in your ceiling.
The result is a one-of-a-kind piece that brings a bit of the outdoors into your living space.
7. DIY Lighting for Photography and Video
For all my fellow content creators out there, as you know good lighting is crucial for us. But professional lighting equipment can be expensive. Here’s the best budget-friendly DIY light solution that will have you looking like a pro in no time.
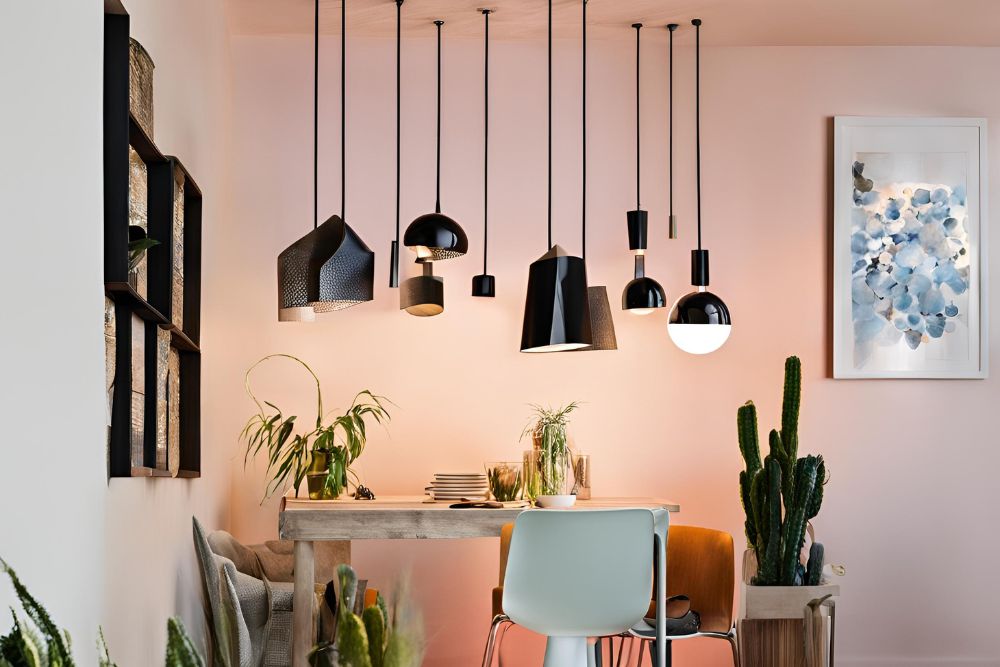
Materials:
- PVC pipes and connectors
- White fabric for diffusion
- Clamp lights
- Daylight balanced bulbs
Steps:
- Construct a frame using PVC pipes and connectors.
- Stretch white fabric over the frame for diffusion.
- Attach clamp lights to the frame.
- Install daylight balanced bulbs in the clamp lights.
This setup provides soft, even lighting that’s perfect for photos and videos, without the hefty price tag of professional equipment.
8. The Concrete Pendant: Industrial Chic on a Budget
For those who love the industrial look, concrete pendants are a perfect choice. They’re surprisingly easy to make and add a touch of urban sophistication to any space.
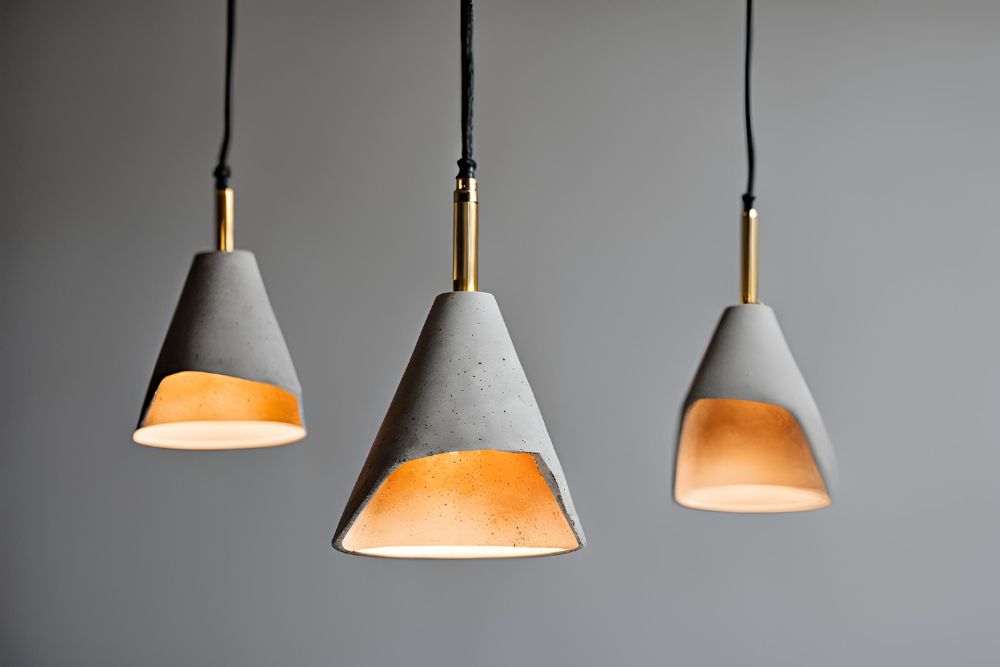
Materials you need for DIY lighting fixtures:
- Quick-setting concrete mix
- Plastic containers for moulds (various sizes for variety)
- Pendant light kits
- Cooking spray
Steps:
- Spray the inside of your plastic containers with cooking spray.
- Mix the concrete according to package instructions.
- Pour the concrete into the moulds, leaving space at the top for the light fixture.
- Insert the cord from the pendant kit into the wet concrete.
- Allow to dry completely before removing from the mould.
- Sand any rough edges and hang.
The result is a sleek, modern pendant that looks far more expensive than it actually is.
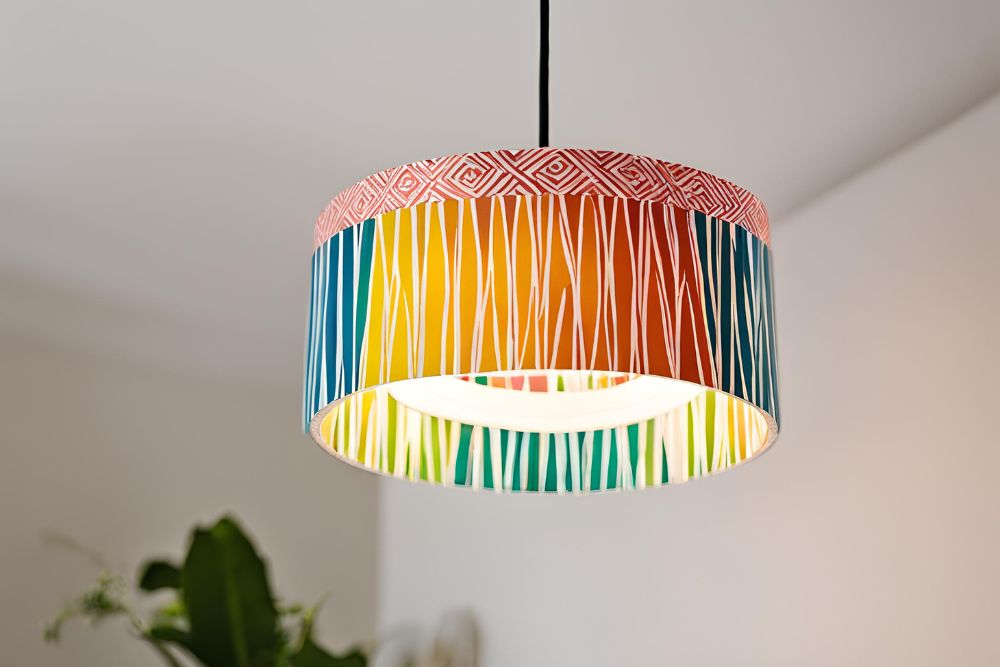
9. The Washi Tape Wonder: A No-Tool Solution
For renters or those who prefer not to make permanent changes, washi tape is your secret weapon.
This decorative, removable tape comes in countless patterns and colours, allowing you to create a “faux” light fixture that’s completely damage-free.
Materials:
- Assorted washi tape
- Battery-operated LED puck lights
Steps:
- Plan your design on paper first.
- Use washi tape to create your “fixture” design directly on the ceiling.
- Attach battery-operated LED puck lights within your design.
I have tried this DIY washi tap DIY lighting, and this method allows you to create the illusion of a stunning light fixture without any permanent changes to your space and it’s also perfect for rental space.
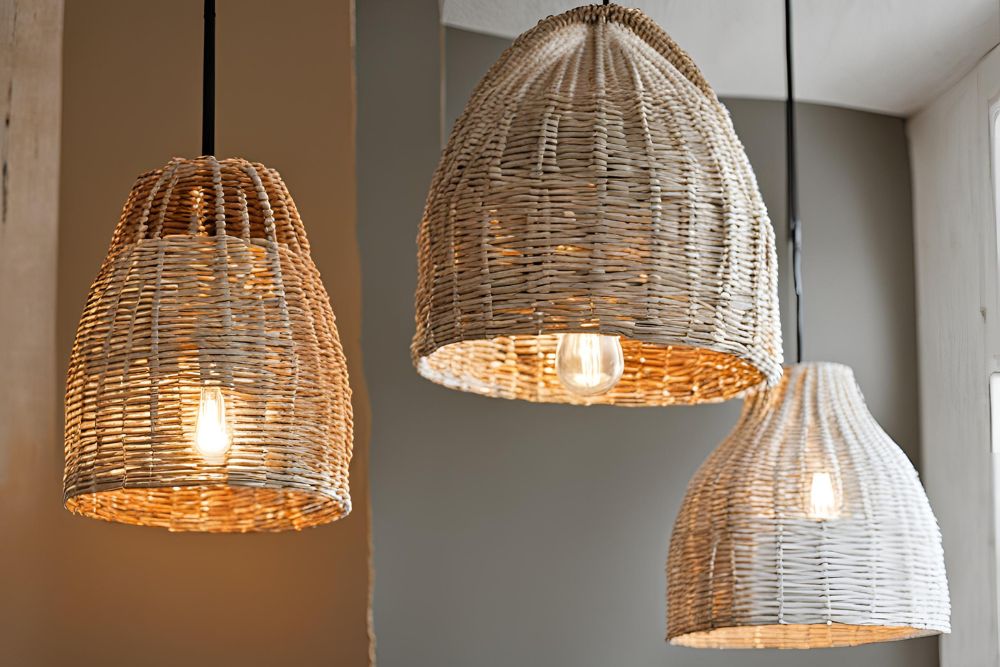
10. The Basket Case: Woven Wonders
Hmm… Are you using woven baskets for just storage but that isn’t just for storage? You can make fantastic light fixtures too! This project is perfect for adding texture and warmth to your space.
Materials:
- Large, open-weave baskets
- Pendant light kits
- Spray paint (optional)
Steps:
- If desired, spray paint your baskets for a cohesive look.
- Cut a small hole in the bottom of each basket for the light cord.
- Thread the pendant light through the hole.
- Hang the baskets at varying heights for visual interest.
This DIY lighting fixtures are perfect for bohemian-inspired decor that adds both light and texture to your room.
Final Thoughts on DIY Lighting Ideas
Get Organised and Optimised in Your Aussie Home Office
Lighting has the power to completely transform a space, and as we’ve seen, creating your own lighting fixtures doesn’t have to be complicated or expensive.
From mason jar magic to concrete creations, there’s a DIY lighting project for every style and skill level.
Remember, the key to successful DIY lighting is to prioritise safety. Always ensure your electrical connections are secure and consider using LED lights, which stay cool and are energy-efficient.
So, why wait? Grab your tools (or your washi tape) and start brightening up your home today.
With these DIY lighting ideas, you’re well on your way to creating a space that’s uniquely you – all without breaking the bank.
Happy crafting, and may your home always be filled with the warm glow of your own creativity!
If you like this or if you have any other ideas on DIY Lighting Fixtures to Brighten Your Home on a Budget, please let me know in comment section.

