Best Ultimate Guide to Organising Your Kitchen Pantry 2024
Are you tired of a messy pantry? Now get excited about Organising Your Kitchen Pantry Like a Pro.
Do you stare hopelessly into your cluttered, disorganised pantry, wondering where even to begin? Let’s explore “How to Organise a Pantry” like pro.
Does it stress you out trying to find ingredients when cooking or baking?
Whew! Can you believe I used to dread opening my pantry door? It was like unleashing a chaotic mess of cans, boxes, and who-knows-what every single time. But let me tell you, the day I finally tackled my pantry organisation changed everything!
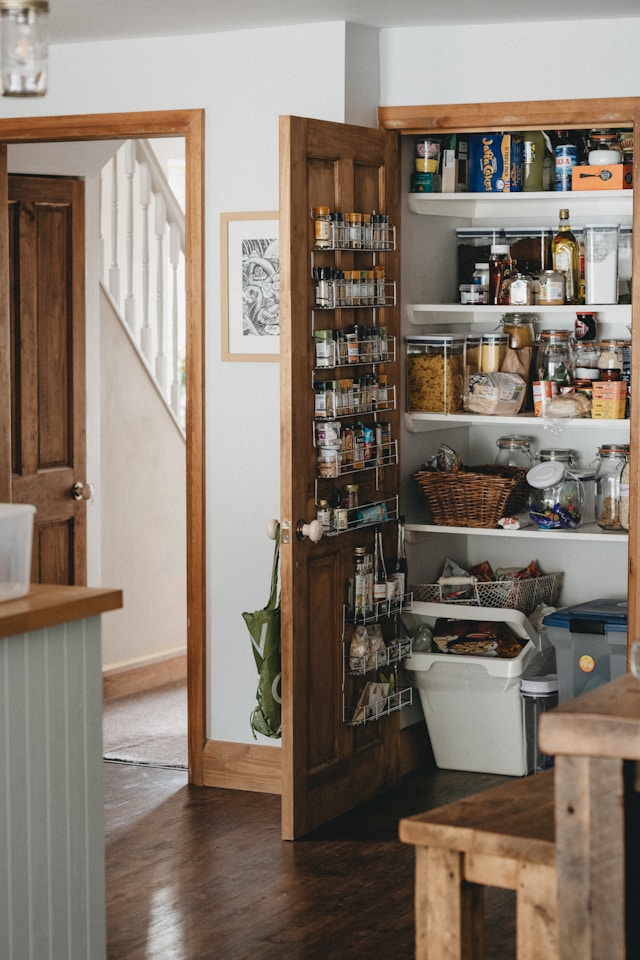
If your pantry is a jumbled mess, there are others. Many of you struggle to keep your food storage areas neat and clean.
The good news is that you can transform that chaotic space into a functional, organised pantry with some effort and know-how.
Picture this: you swing open your pantry door, and instead of dodge-falling soup cans, you’re greeted by a Pinterest-worthy sight of neatly labelled containers, perfectly aligned shelves, and – get this – you can actually find what you’re looking for in seconds! Sounds like a dream, right?
Well, folks, I’m here to tell you that this dream can be your reality. As someone who’s gone from pantry zero to pantry hero, I’m excited to share my hard-earned wisdom on how to organise a pantry like a pro. Trust me, if I can do it, anyone can do it who’s reading this guide!
Read on for my 10 best tips and strategies to organise your kitchen pantry like a pro.
How to Organise a Pantry
Here are some fantastic tips for Organising Your Kitchen Pantry Like a Pro.
In this guide, I’ll walk you through the exact steps I took to transform my cluttered nightmare into a space that makes me want to cook more, waste less, and maybe even show off a little to my friends (because who doesn’t love a good pantry reveal?).
So, grab a cup of coffee, and let’s dive into the world of pantry organisation – I promise it’s more exciting than it sounds!
Follow this Step-By-Step Guide To Organising Your Kitchen Pantry
Step 1: Assess Your Current Pantry Situation
Alright, let’s get real for a second. The first step in any great makeover story is admitting you have a problem, right?
Well, the same goes for your pantry! Before we dive into the fun stuff, we need to take a good, hard look at what we’re working with.

When I first decided to tackle my pantry, I felt overwhelmed. Where do I even start? So, I took a deep breath and channeled my inner Marie Kondo (minus the “sparking joy” part – because let’s face it, canned beans rarely spark joy).
Here’s what I did, and what I recommend you do too:
1. Take inventory:
I grabbed a notepad and started listing everything in my pantry. And I mean everything. From the fancy olive oil I bought for that one recipe two years ago to the mysterious bag of dried something-or-other lurking in the back corner. This process was eye-opening, to say the least!
2. Identify problem areas:
As I was making my list, I started noticing patterns. Like how I had three open boxes of the same cereal (oops) or how all my baking supplies were scattered across different shelves. These observations helped me pinpoint where I needed to focus my organisation efforts.
3. Set goals:
Once I had a clear picture of my pantry chaos, I jotted down some goals. Mine included things like “stop buying duplicates,” “make healthy snacks more accessible,” and “create a system that even my kids can maintain” (a girl can dream, right?).
Let me tell you, this assessment phase was a game-changer. It forced me to confront my disorganised reality and gave me a roadmap for the transformation ahead.
Plus, it was oddly satisfying to see everything laid out on paper – like giving me satisfied feeling that I was finally taking control of the situation.
Oh, and here’s a pro tip I wish I’d known from the start: take “before” pictures! Trust me, you’ll want to document this journey.
Not only will it motivate you to keep going, but it’ll also give you major bragging rights when you show off your “after” shots.
Step 2: Clear Everything Out for Organising Your Kitchen Pantry
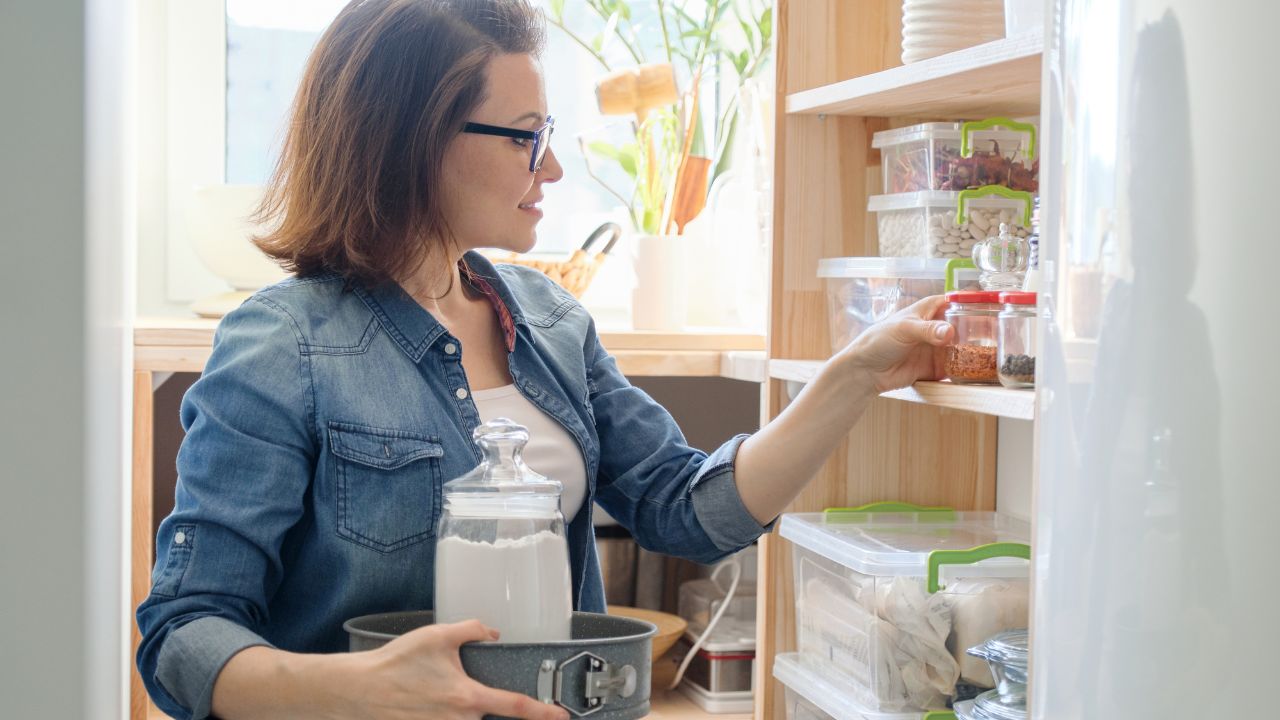
The first step is always the hardest – completely emptying your pantry. Take literally everything out – food, containers, cookware, you name it.
When I tackled this step, I turned on some upbeat music (because cleaning is always better with a dance party) and got to work. Here’s how it went down:
1. The Great Exodus:
I started by taking EVERYTHING out of the pantry. And I mean everything. My kitchen looked like a grocery store had exploded. Spread these items out on your countertops, dining table, floor – wherever you have space.
It was chaotic, overwhelming, and… exciting. I felt like an archaeologist unearthing ancient artefacts (aka, that jar of pickles from 2018).
Resist the urge to start putting things away yet. It would help if you had a blank canvas to work with first.
As I was assessing, I made three piles: keep, donate, and toss. The “keep” pile was for items still good and that we actually use. The “donate” pile was for non-expired items we no longer wanted (hello, local food bank!). And the “toss” pile… well, let’s just say it was larger than I’d like to admit.
Pro tip:
This is an excellent time to take inventory and check expiration dates. Toss anything that’s expired or you know you’ll never use it. Why let it continue cluttering your pantry?
Step 3: Clean the Pantry Shelves and Walls
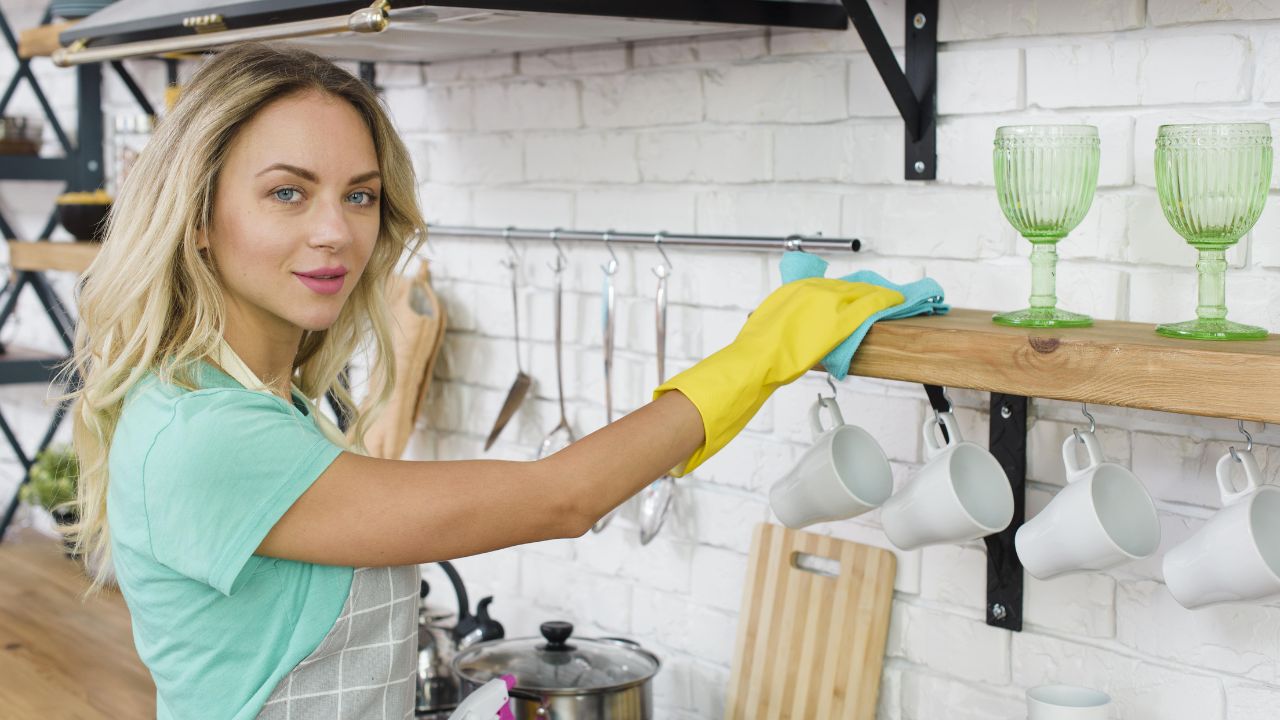
Now that your pantry is empty, it’s time to clean! Give the shelves, walls and floor a good scrubbing. Use a natural all-purpose cleaner or diluted vinegar solution.
With empty shelves staring back at me, it was time to clean. I’m talking elbow grease, all-purpose cleaner, and maybe a little muttering under my breath. I wiped down every shelf, scrubbed the walls, and even got down on my hands and knees to tackle the floor. Who knew there could be so many crumbs in a pantry?
Oh, and here’s something I learned the hard way: wear gloves! Between the cleaning products and the questionable sticky substances I encountered, my hands were not happy with me by the end of this step.
Make sure to remove all dust, crumbs and sticky spots. Wipe down any cans or jars before putting them back, too.
A clean palette makes organisation so much easier and more satisfying.
Step 4: Create Zones for Efficient Organisation
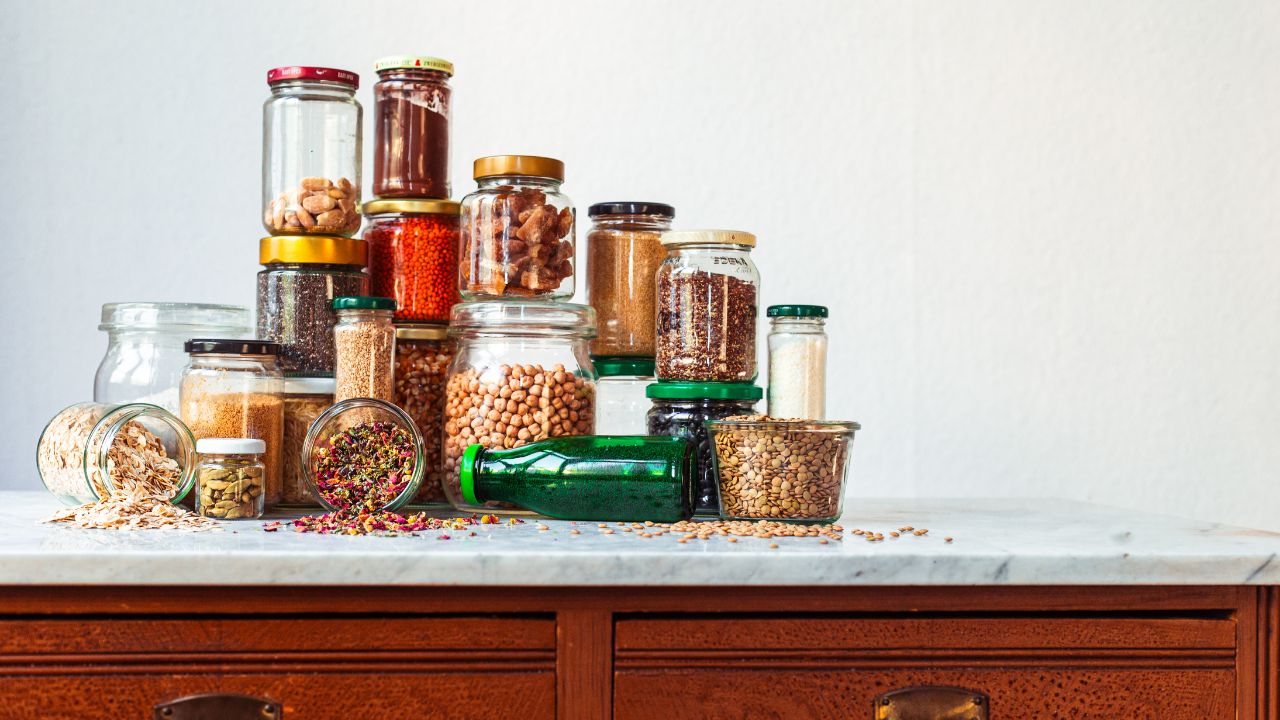
Categorise and Group Like Items
Alright, now we’re getting to the good stuff! Creating zones in your pantry is like giving your food items their own little neighbourhoods. It’s all about making your pantry work for you, not against you.
Sorting and categorising all your pantry items. Make designated piles or sections for:
- Canned goods (soups, beans, tomatoes, etc.)
- Baking ingredients (flour, sugars, baking soda/powder)
- Snacks (chips, crackers, granola bars)
- Breakfast foods (oatmeal, cereal, pancake mix)
- Condiments (sauces, spreads, dressings)
- Beverages (juices, drink mixes, coffee)
- Others based on your unique items (pasta, rice, oils, spices, etc.)
The key is grouping “like with like.” Having related items together will make your pantry intuitive to navigate later.
Pantry zones
When I first heard about pantry zones, I thought it sounded a bit… extra. Like, who has time for that? But let me tell you, once I tried it, I became a total convert. Here’s how I approached it:

1. Food Type Groupies:
I started by grouping similar items together. All the canned goods had a reunion, the snacks formed their own little clique, and the baking supplies got cozy with each other. It was like a food version of high school cliques, but way less drama.
2. Frequency Matters:
Next, I thought about how often we use certain items. The everyday stuff (like our go-to snacks and breakfast items) got prime real estate at eye level. Less frequently used items (I’m looking at you, canned pumpkin) got relegated to the upper shelves.
3. Family-Friendly Zones:
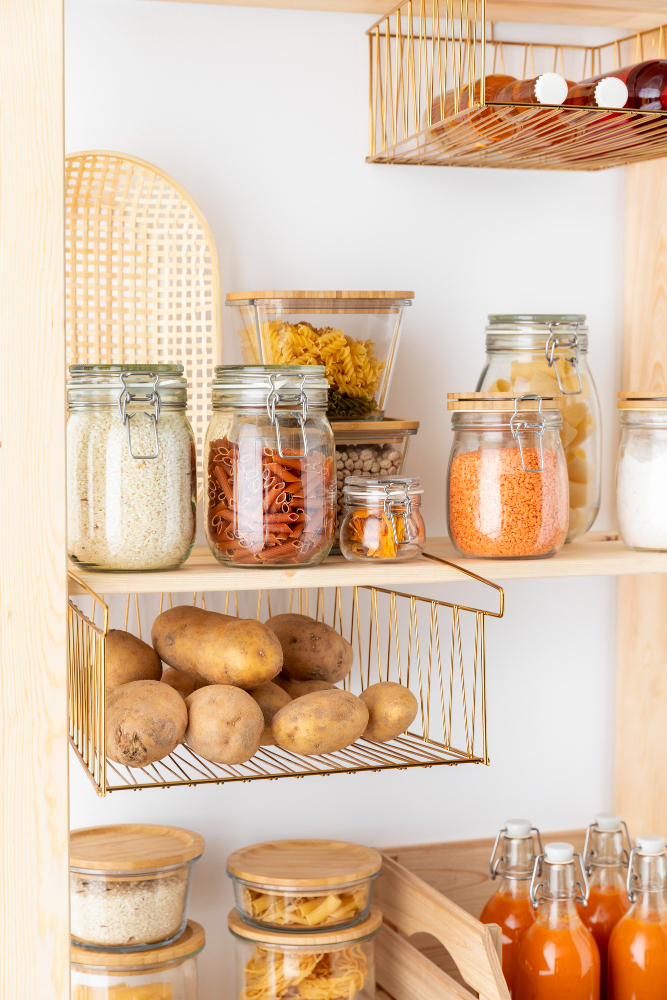
With two kids and a husband who can barely find the ketchup, I knew I needed to make our zones idiot-proof (sorry, honey!). So, I created a dedicated snack zone at kid-height and put all our dinner staples together for easy meal prep.
Efficient Organisation
Now, here’s where I had my “aha!” moment: I realised that zones aren’t just about grouping similar items. They’re about creating a system that matches your lifestyle. For example, I created a “grab-and-go” zone near the door with easy snacks and lunch items for busy mornings. Game changer!
I also got a bit creative with my zones. I made a “baking corner” with all my flours, sugars, and chocolate chips (dangerous, I know). I even created a “movie night” zone with popcorn, candy, and other treats. It’s made our Friday family movie nights so much easier!
Step 5: Choose Your Storage Containers for Organising Your Kitchen Pantry
Now it’s time to contain all your organised food! There are lots of pantry storage options:
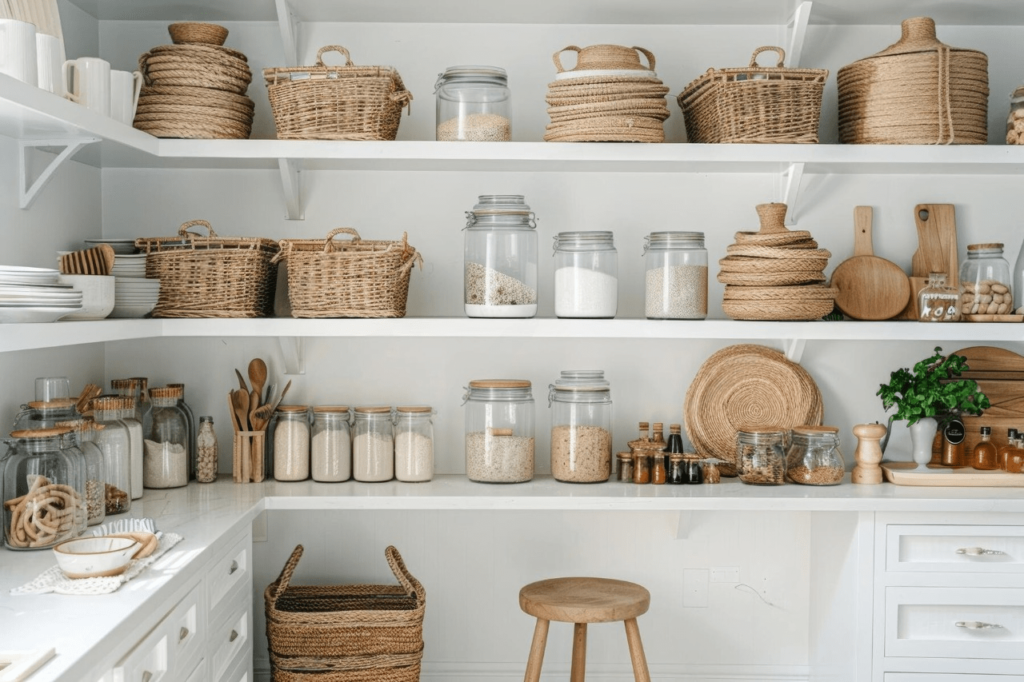
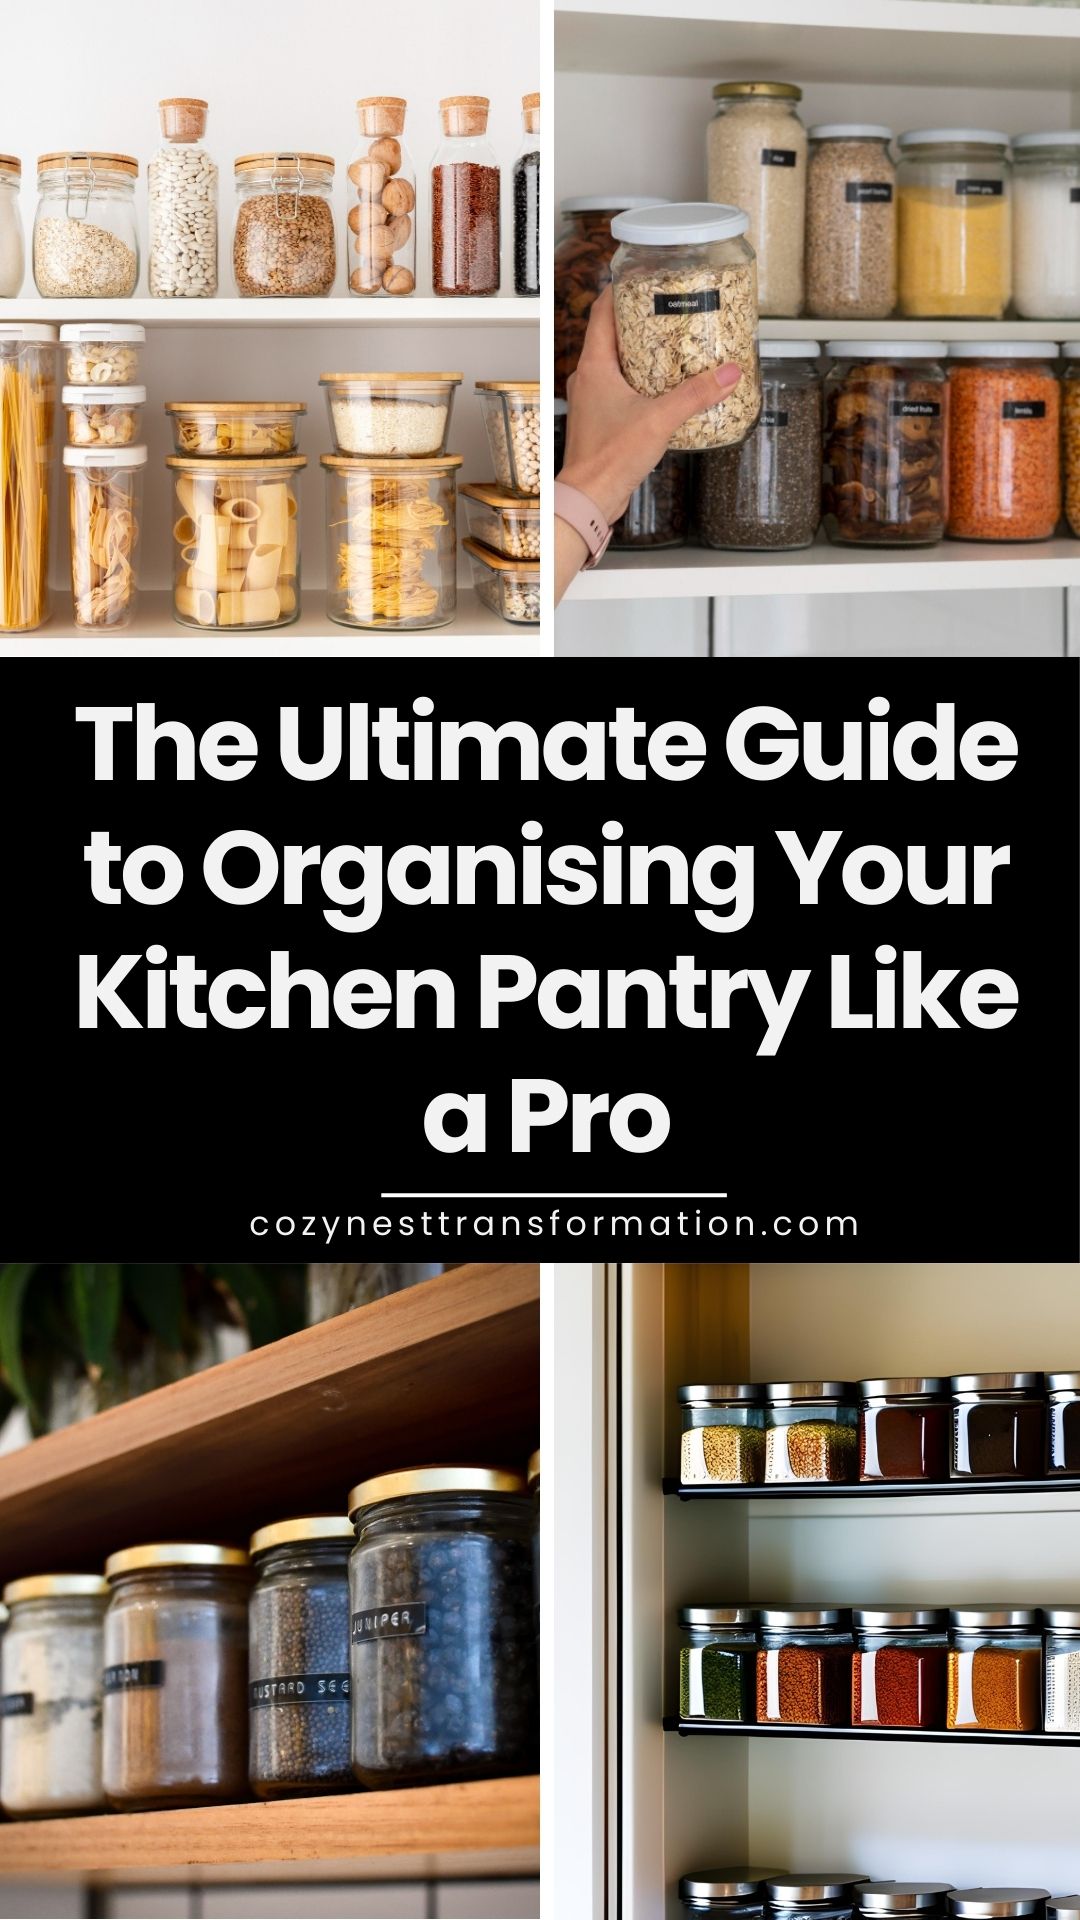
- Clear canisters: Great for displaying ingredients like flour, sugar, oats, etc. It makes it easy to see inside, too.
- Airtight canisters: Keep food sealed and fresh. It is ideal for coffee, tea, crackers, chips, and cereal.
- Jars/bottles: Reuse glass jars from pasta sauce and condiments, or purchase new ones with labels. Beneficial for dry goods.
- Baskets: Let you corral similar items while still seeing contents. Perfect for produce.
- Storage bins: Use clear bins to divide categories or opaque for hiding clutter. Stackable too.
- Spice organisers: Specialty racks keep spices visible and within reach. Alphabetise them too.
- Lazy Susans: Spinning trays make items accessible. Handy corner storage solution.
- Shelving: Install extra shelving to maximise vertical space for taller items.
Invest in the Right Storage Solutions
Let’s talk storage solutions, people! This is where the magic happens. It’s like giving your pantry a makeover, but instead of new clothes, we’re talking containers, baskets, and organisers. Trust me, this is the fun part!
When I first started my pantry organisation journey, I went a little… overboard. I bought every container and gadget I could find. My pantry looked like a Container Store exploded in it. Learn from my mistakes, folks. Here’s what I figured out:
1. Container Craze:

Clear, airtight containers are your best friends. They keep food fresh and let you see what’s inside at a glance. I invested in a set of stackable containers for things like flour, sugar, and cereals. Pro tip: measure your shelves before buying to make sure they fit!
Match containers to the type and quantity of goods you’re storing. Labelling everything clearly helps, too.
2. Basket Case:
Baskets and bins are great for corralling smaller items. I use them for snack packs, granola bars, and even those pesky seasoning packets that always seem to disappear. Plus, they make it easy to pull everything out at once.
3. Lazy Susan Love:
Okay, whoever invented the Lazy Susan deserves a medal. I put one in the corner of each shelf, and it’s revolutionary. No more lost items in the back of the pantry! I use them for oils, vinegars, and sauces.
4. Shelf Risers:
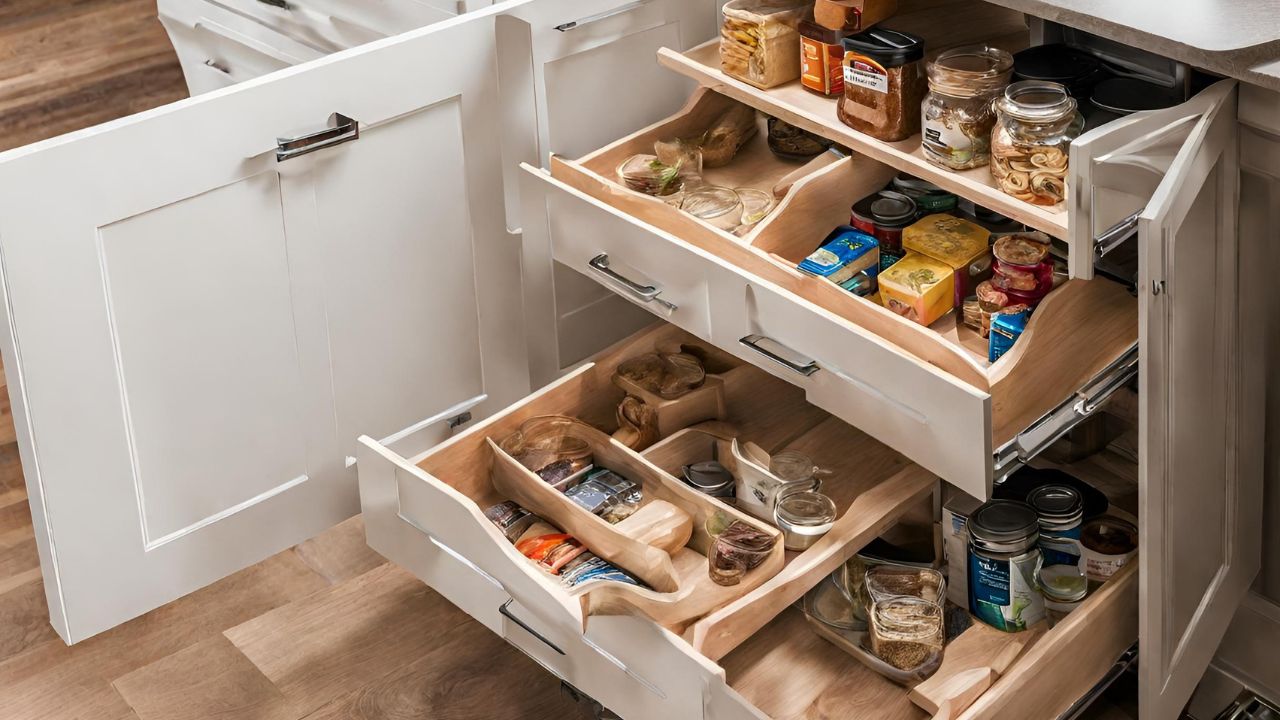
These little platforms are game-changers. They create an extra level on your shelves, perfect for canned goods or spice jars. It’s like adding a second story to your pantry!
5. Door Hangers:
Don’t forget about that precious door space! I hung an over-the-door organiser for things like bags of chips and other lightweight items. It’s like finding extra square footage you didn’t know you had.
Step 6: Install Functional Organisers for Organising Your Kitchen Pantry
Beyond containers, discreet yet functional organisers give your pantry next-level order. Here are handy options:

- Tiered shelves: Utilise vertical space and double storage with stacked shelving units.
- Pull-out drawers: Install drawers for storing bulk items or smaller cooking tools for smooth gliding access.
- Wine rack: Use the vertical cavity with an installed wine rack. It is perfect for oils and sauces, too.
- Towel bar: Run a towel bar along the inside of the pantry door to hang utensils, aprons or towels.
- Spice racks: Mount racks so your spices are visible at a glance. Group alphabetically.
- Over the door racks: Hang small racks on the back of the door for instant storage. Fantastic for canned goods.
- Tension rods: Install a tension rod to hang baking sheets, cutting boards, and plastic wrap, and get them upright and off shelves.
Look for ways to maximise every inch! Multiple layers and dual-purpose organisers make all the difference.
Step 7: Implement a Labelling System for Pantry Organisation
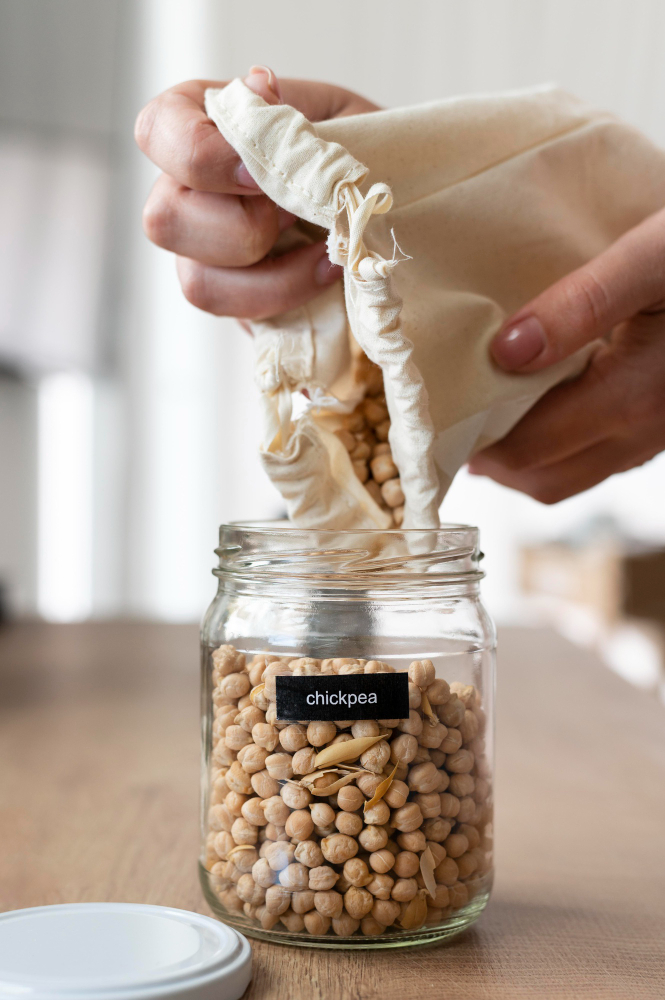
1. Choose Your Labelling tools:
I started with a simple marker and masking tape combo. It worked, but it wasn’t look like Pinteresty.
Then I discovered chalkboard labels and felt like a Pinterest goddess.
Finally, I invested in a label maker, and oh boy, was that a game-changer! The key is to find what works for you and your style.
2. Be Clear and Concise:
When it comes to labels, less is more. “Flour” is better than “The white powdery stuff we use for baking.” Trust me, I learned this the hard way when my verbose labels started peeling off the containers.
3. Think Categories:
Instead of labelling every single item, I started labelling categories. “Baking Supplies,” “Weeknight Dinner Staples,” “Kid-Friendly Snacks” – you get the idea. This made it easier to maintain and gave me some flexibility within each zone.
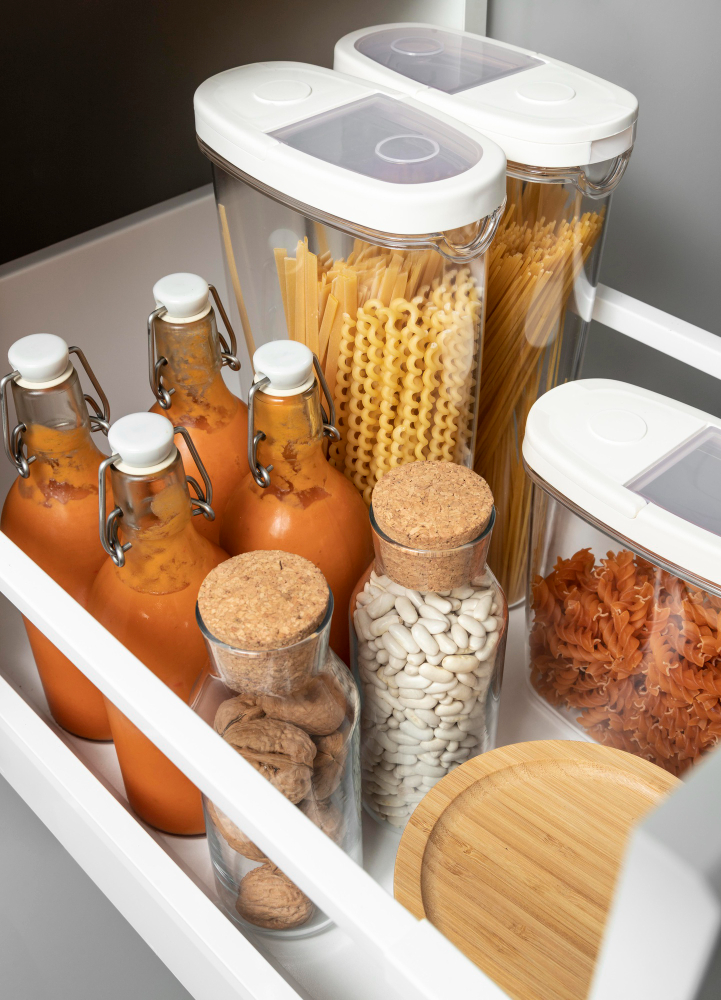
4. Color Code It:
Here’s where I got a bit carried away (in a good way!). I assigned different colors to different categories. Green for healthy snacks, red for baking items, blue for breakfast foods… suddenly, my pantry looked like a rainbow, and I loved it!
5. Don’t Forget Expiration Dates:
This was a game-changer for me. I started adding expiration dates to my labels, especially for things like flour and nuts that can go rancid. No more sniff tests or guessing games!
6. Make it Fun:
Who says labels have to be boring? I let my kids design some labels for their snack zone, and now we have a “Yummy Tummy” section that never fails to make me smile.
Step 8: Arrange Items Strategically
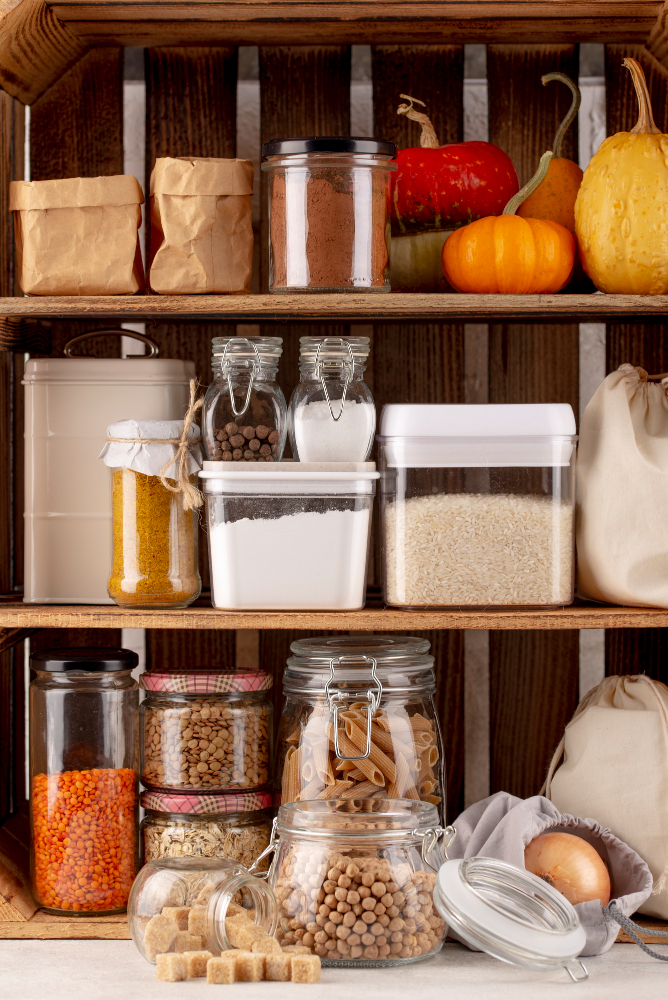
1. The Eye-Level Rule:
This is the golden rule of pantry organisation. Put your most-used items at eye level. For me, that meant everyday snacks, breakfast items, and dinner staples. No more bending down or stretching up for the things we use all the time!
2. Heavy Hitters Down Low:
Remember that time I tried to get a huge bag of rice from the top shelf and nearly gave myself a concussion? Yeah, let’s avoid that. Heavy items go on lower shelves. It’s safer and makes your pantry more stable.
3. High and Mighty:
The top shelves are perfect for those items you don’t use often. Holiday baking supplies, that fancy olive oil you save for special occasions, or the backup stash of your favourite treats (we all have one, right?).
4. Kid-Friendly Zones:
If you have little ones, consider creating a kid-accessible zone. I put healthy snacks and lunch items on lower shelves where my kids can reach them. It’s been a game-changer for encouraging independence (and reducing the “Mom, I’m hungry” whines).
5. Group Like with Like:
Remember those zones we created earlier? Now’s the time to put them into action. Keep all your baking supplies together, group your canned goods, create a snack section. It makes finding things so much easier.
6. First In, First Out:
This one’s important, especially for things with expiration dates. When you buy new items, put them behind the older ones. It’s like creating your own grocery store shelf-stocking system!
Step 9: Return Items to Your Pantry Using Categories
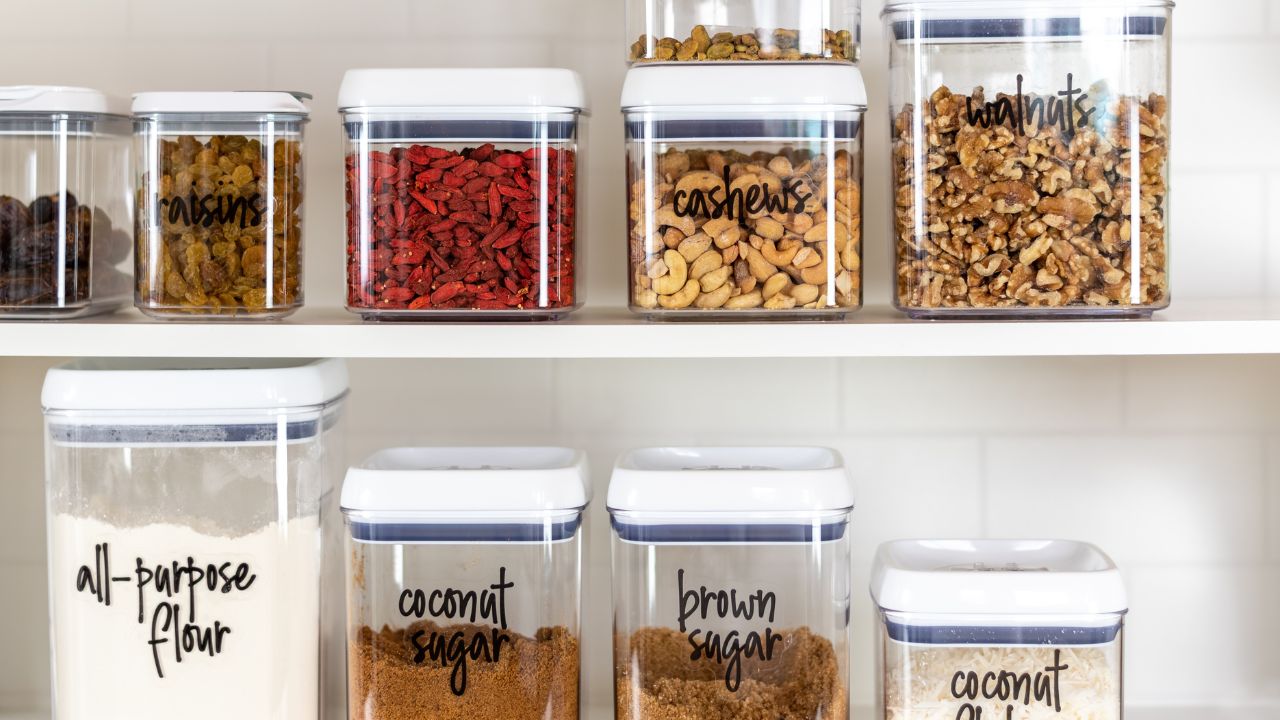
Everything has been cleaned, purged, categorised and contained – now the fun part. Return each organised grouping of items to its new home in your pantry system.
Adhere to your categories strictly as you stock shelves. Some tips for placing:
- Put daily-use items like coffee, cereals, and snacks at eye and hand level.
- Store lesser-used items up higher or lower.
- Group meal ingredients together – pasta, sauce, tuna, etc.
- Keep baking goods together on a shelf or in a drawer.
- Place small appliances atop shelves when possible.
- Ensure you have a step stool to reach any high shelves.
Take advantage of hard-to-reach spaces with items not frequently needed. And remember to label containers and shelves clearly!
Step 10: Maintain with Regular Purging and Cleaning
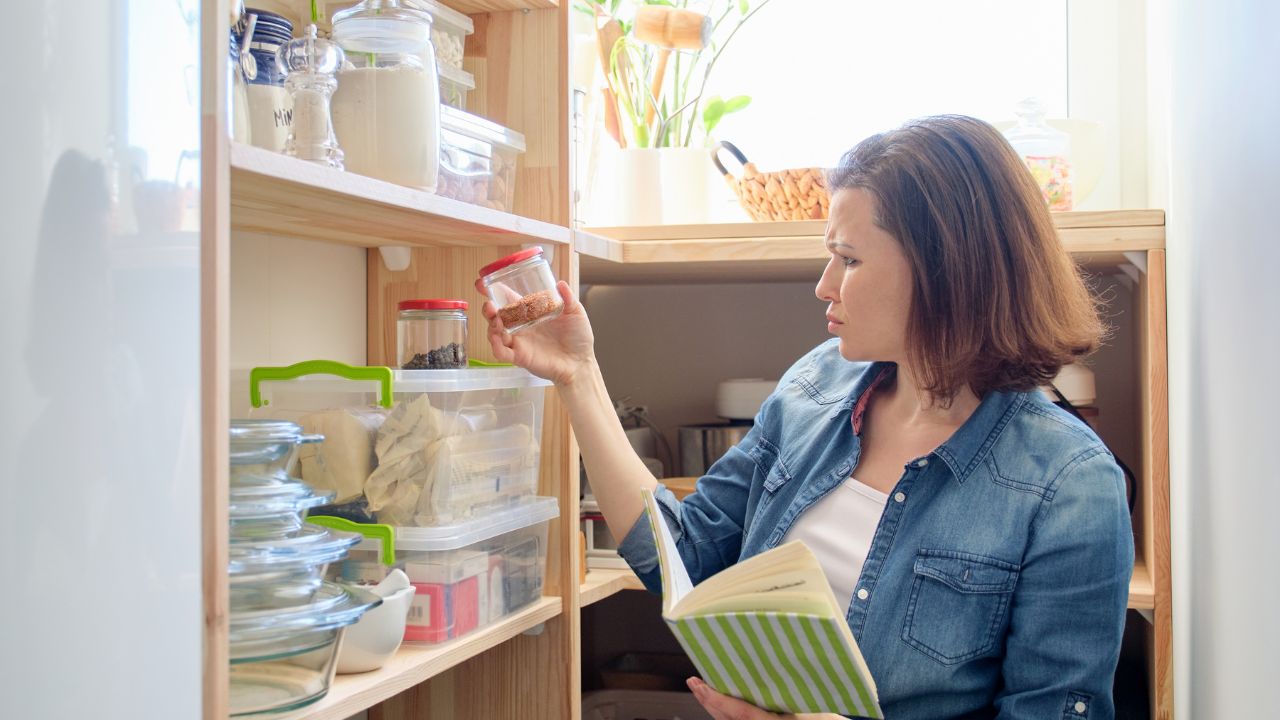
You did the hard work already – now comes the easy part. Maintain your organized pantry by:
- Purging expired or unwanted foods every 2-3 months.
- Wiping down shelving every time you grocery shop.
- Vacuuming floors and wiping doors weekly.
- Check for expired spices, seasonings, and baking goods twice yearly.
- Keeping backup supplies of frequent items in one row.
- Adding labels as needed so anyone can find ingredients easily.
Designate 5 minutes after each grocery trip to sort and purge so messes don’t build up. Consistent light maintenance is critical!
For more details watch this video: ULTIMATE PANTRY TRANSFORMATION
Final Thoughts on Organising Your Kitchen Pantry Like a Pro
Whew! What a journey we’ve been on together, from chaotic cupboard to pantry perfection. As I stand here, looking at my newly organised pantry, I can’t help but feel a sense of accomplishment – and relief!
There you have it – my best tips and strategies for organising your pantry like a pro! What are you waiting for?
Clear out sometime this weekend for an organisation session. You’ll be amazed at the transformation.
No more wasting time digging for ingredients or expiry dates. Your pantry will become a clean, logical hub for cooking and snacking.
Just be sure to stick to your system once it’s in place. Happy organising!


